This article will show you how to set-up your initial stock in Animana. These instructions can be used if your practice is new to Animana and your stock needs to be set up for the first time. For the initial stock we distinguish two different ‘groups’ of products:
- products with batch numbers and expiry dates
- products without batch numbers and expiry dates
Stock and Locations
Stock is defined per location, you need to confirm that you are in the correct location (top right hand corner of screen). When logged in – click on the current location and select the correct one if applicable. Each location holds its own stock, so it is very important to pay attention to the location!

Adding products with batch numbers and expiry dates
- Your initial stock will be linked to a user, so you first need to create a ‘New Client’ by clicking on the
 icon in the navigation bar. Ensure that you fill in the Company Name with “Initial Stock” and don’t forget to tick the checkbox ‘supplier’.
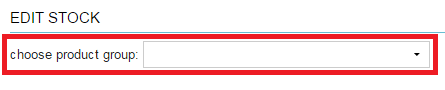
 - Go to: Extra > Stock > Edit Stock and select a product group which contains products for which you keep track of batch numbers and expiration dates. The product group can be found on the top side of the page:
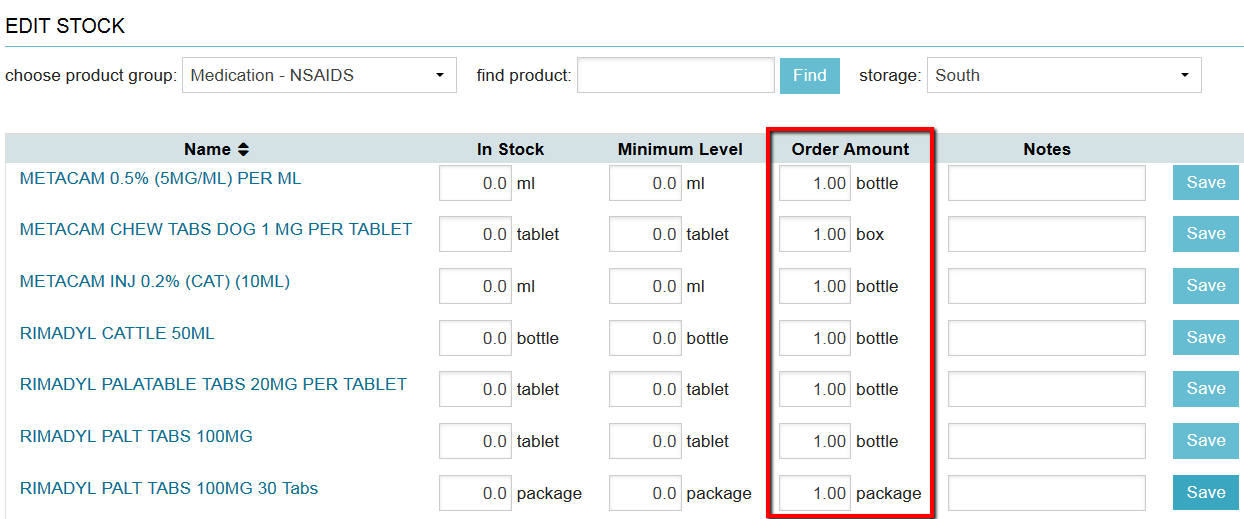
- For each product that needs to have stock per batch registered, enter an order amount 1 in the column shown in the image below. Don’t forget to click Save for each line that you have edited.
-
Repeat steps 2 and 3 to add more products/product groups. Once you are done, continue to the next step.
- Go to: Extra > Stock > Create Order, select the storage location (highlighted at the bottom of the image) you want to enter stock for, and you will see the edited products listed under suggested products based on stock level as shown below:

-
Tick the checkboxes of the products you want to enter batch stocks for, or tick the checkbox in the header row to select all.
-
In the quantity field enter the amount that you have in stock, taking the unit into account.
-
At the bottom of the page – choose as a supplier the client you created in step 1 (e.g. “Initial Stock”).
-
Leave all other fields as they are and click Add to Order List.
-
This will then take you to the ‘Order list’ (also accessible through Extra > Stock > Order list). An order will have been created under the supplier “Initial Stock”.
-
Click on the order that you just created. On this screen you can enter the correct quantity per batch number/expiry date. If you have multiple batch numbers – click on the copy symbol at end of each line FIRST and this will produce another line for that stock item – you can then allocate the relevant stock quantity to each batch number.
- Once completed, remember to press Book and Save Order at bottom of the page.
For the products without batch numbers and expiry dates you can simply set up your stock via Extra > Stock > Edit Stock.
Setting an Order level & Order Amount
The next step involves setting the order level and order amount per product per storage location.
- Go to: Extra > Stock > Edit Stock.
- Filter on a product group and select the storage you want to use.
- In stock: number of sales units on shelf
- Minimum level: level of stock (sales units) when product should be ordered again
- Order amount: number of order units to order when the order level is reached.
- That is: for external orders! Storages that only receive and send internal orders should ignore the units mentioned here and just enter a quantity as if these are sales units.
- Don’t forget to save each line you edited!
The initial setup of your stock is now completed. You can proceed placing orders.