Before starting with Animana – or after purchasing a new printer – you need to configure your paper format. This article explains how you can configure the settings for A4 paper, including adjusting the margins, spacing around your letter header spacing.
Before you start
- Setting up the paper format is done in the general settings section of your account – only the administrator of your account can adjust the general settings.
- Settings apply to all users and all printers (individual settings cannot be configure for different printers, or users).
Step-by-step instructions
- Click on
 in the utilities bar (top right) > General Settings > General Settings.
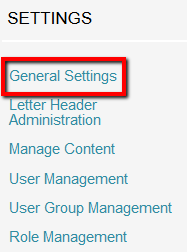
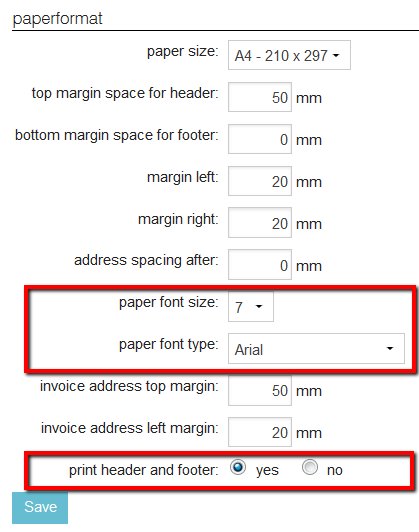
- Click on the tab Paperformat.

-
Enter a margin for your top, bottom, left and right. These margins will determine where text will begin and end on a page (print or preview).
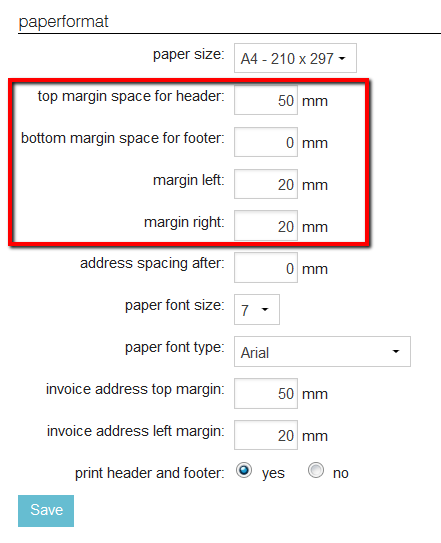 Default settings will be as shown above but you can manually adjust them according to your needs.
-
Adjusting top margins for your letter header
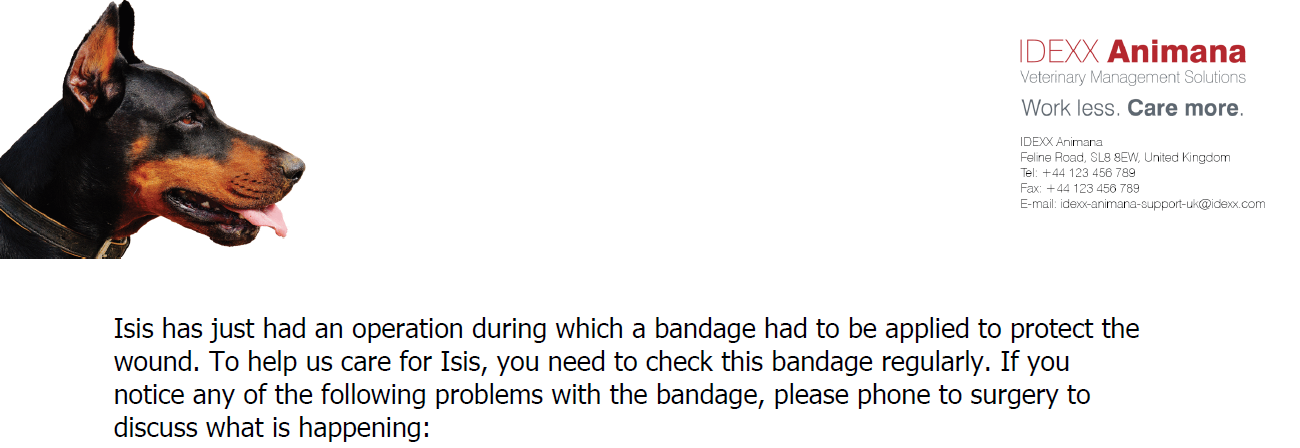
If you have tall letter headers (also see How do I upload/update my letter header and footer?), you will probably need to increase your “top margin space for header” to ensure that the text will start lower on the page.
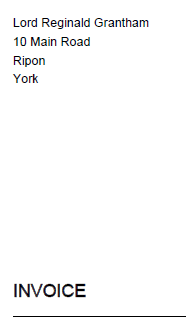
This is box titleIn the example below, the letter header is 50mm tall, so the 50mm default for “top margin space for header”, means that the text starts immediately after the header: Increasing the “top margin space for header” to 60mm (from 50mm), moves the text down by 10mm, which is much better:
-
- You can set the default text size by changing the “paper font size” and “paper font type”.
- Select if you want the header and footer printed by default. You can always manually change this per individual print job when needed.
Note: the header and footer will be used in e-mails, even if the ‘no’ box is ticked. -
Click Save.
More about this
How can I control the printing of addresses on letters?
If you use envelopes with a window in your practice, you will probably need to adjust the settings to get the client address accurately positioned in the window.
Change the position of the address
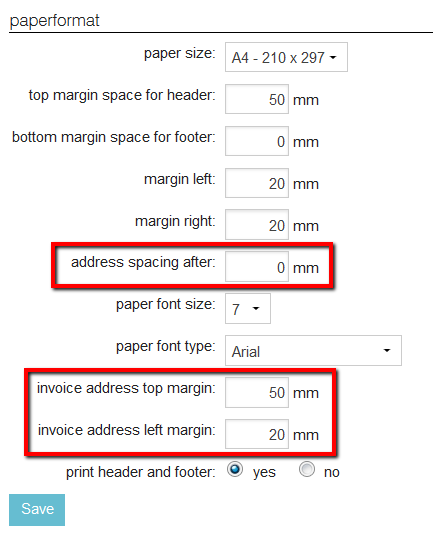
You can alter the position of the address on letters by adjusting the “invoice address top margin” and “invoice address left margin” fields.
Never set a smaller “invoice address top margin” than your “top margin space for header”, otherwise your address will be printed over your header.
Also, if the margin is too small, the address will not be (fully) printed.
Change the spacing after the address
The “address spacing after” field defines the spacing after the address block. Leaving the spacing on “0 mm” will create a normal spacing: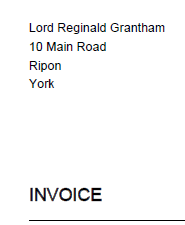
Increasing the spacing to for instance “30 mm” will create a bigger spacing between the address and the text: