If you work with digital x-rays in your practice you can use Animana’s DICOM (Digital Imaging and Communication in Medicine) module to import and view images directly in the patient file. Most digital x-rays will be saved in the DICOM-format (.dcm). DICOMs are large files, so this will affect your storage space within Animana.
You are charged for any storage space that you use above 10GB, so you may want to reduce your costs by freeing up space, this article will explain how to do this.
Before you start
You need administrator permissions to be able to manage your storage space (user permissions can be adjusted in ![]() > General Settings > Role Management).
> General Settings > Role Management).
Step-by-step instructions
Deleting linked DICOMs linked to patient records
- Go to
 > General Settings > Manage Storage.
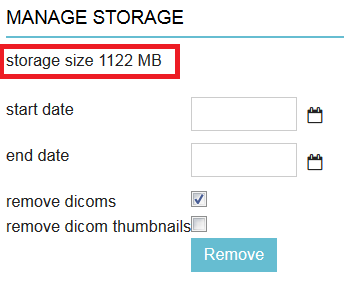
At the top of the screen, you will find your current storage usage (1000MB = 1GB).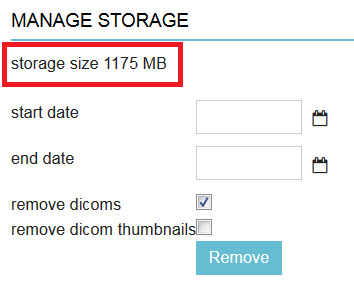
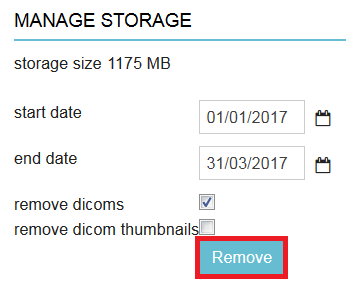
- Enter the start and end date for the period that you want to delete DICOMs from.

-
By default “remove dicoms” will be selected. This will remove the original DICOM image from the Animana server but will save a .jpg image of the same x-ray so you can still view that from the patient file.
-
You can also choose to delete the thumbnails (small previews) from the server and the patient file as well, in which case you will need to select “remove DICOM thumbnails”. After that, you will be able to check in the patient file when an x-ray was made but you cannot see the preview of the x-ray any longer.
This is box titleThis is an example of a patient file with a deleted DICOM thumbnail.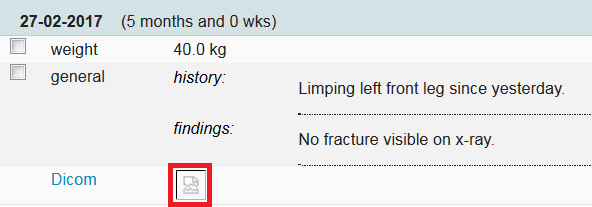
- Click Remove.
- You will see a progress report. Once the job is completely performed the status will change to “finished”.
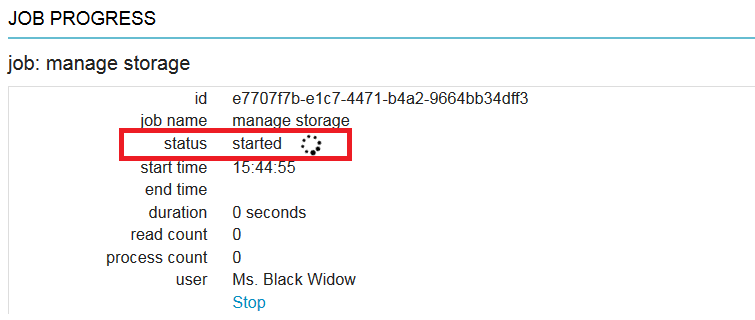
- You can return to > General Settings > Manage Storage to see the new storage size.
Deleting DICOMs not linked to a patient record
- Go to
 > Digital Xray.
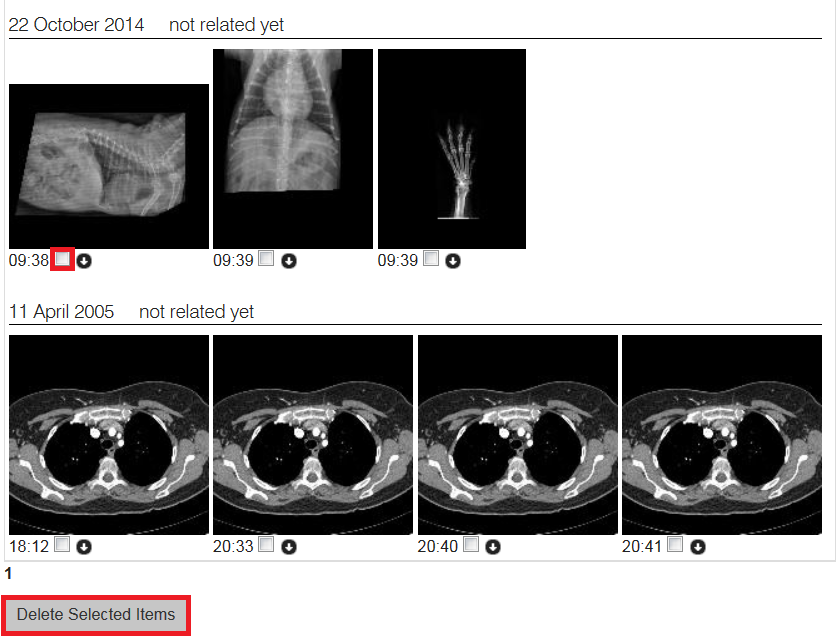
 - You will find a list of DICOMs which are not linked to a patient record.
- Select the DICOMs you want to delete by checking the box beneath.
- Scroll down and click Delete Selected Items.