Appointment columns are the columns shown in each tab (appointment group) in your diary. Normally, each (consultation) room/operating room has its own column. Individual appointments are created within a column. This article explains how to create an appointment column.
This is box title
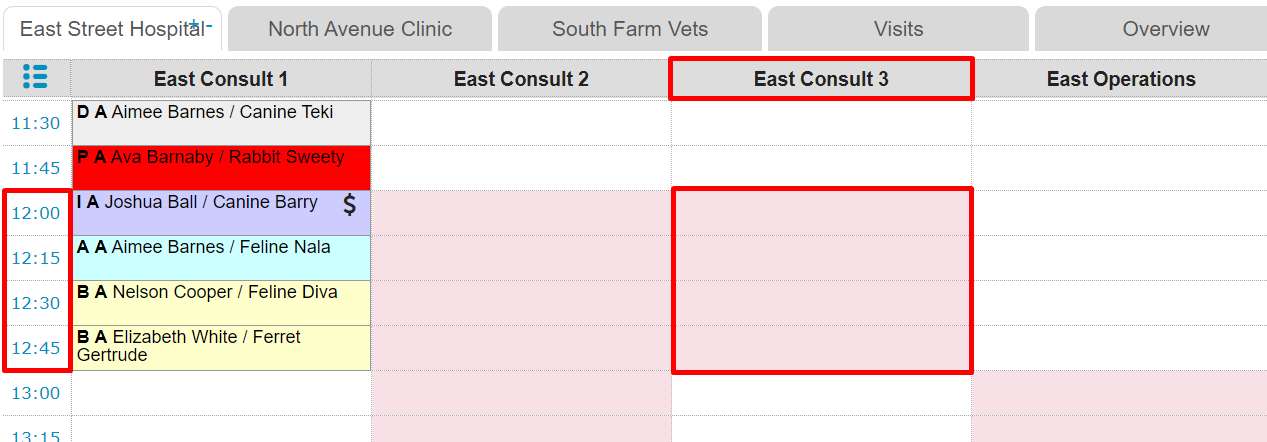
An example of appointment columns in the diary:

Before you start
This is box title
You need permission to be able to manage appointment columns. Permissions can be adjusted by practice administrators in ![]() > General Settings > Role Management.
> General Settings > Role Management.
Step-by-step instructions
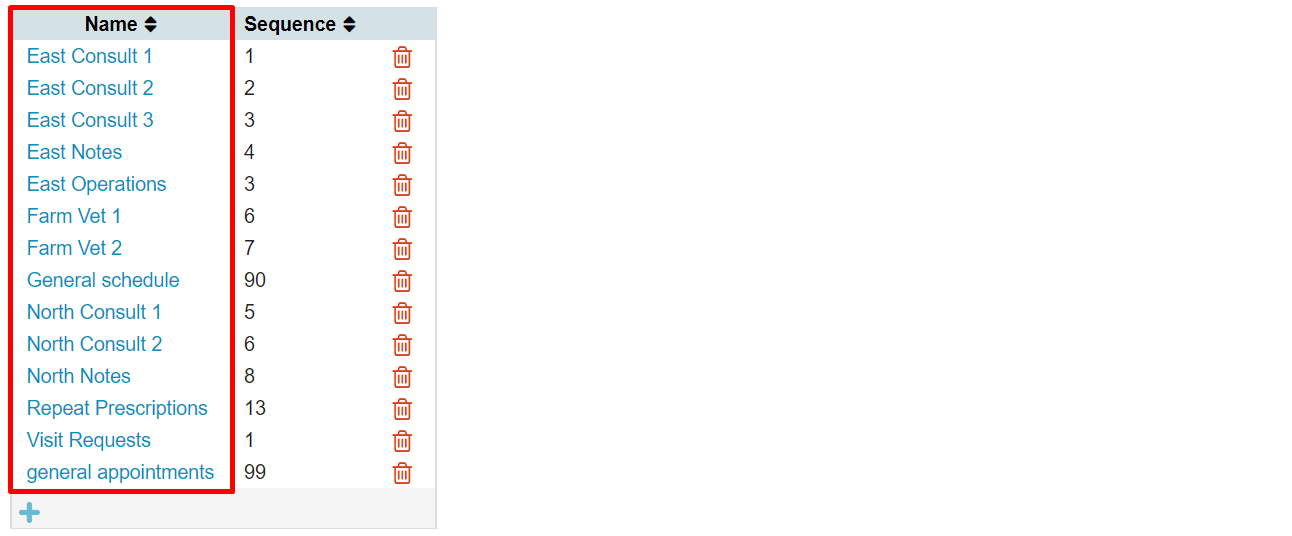
- Go to
 > General Settings > Appointment Columns.
 - Click
 at the bottom of the list.
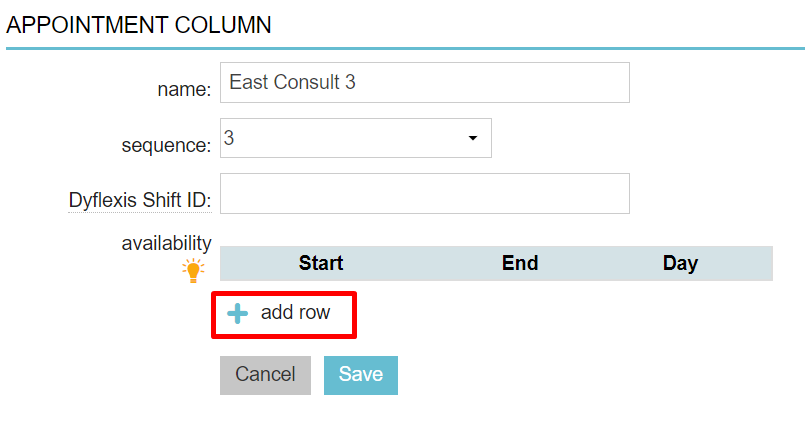
 - Give the new appointment column a unique name (no duplicates allowed).
- Select a number by the field “sequence”. This number defines the sequence in which the columns appear on your screen. The lowest number will be on the left.
- In the table with the heading “availability” you can set when this appointment column is available for booking appointments. Click on
 to add a row to enter the availability.
 This is box titleNote: This is the availability for treatments, not who is currently performing the treatment. The planning of who is available for treatments is managed elsewhere. See our Learning Path: Diary Management.
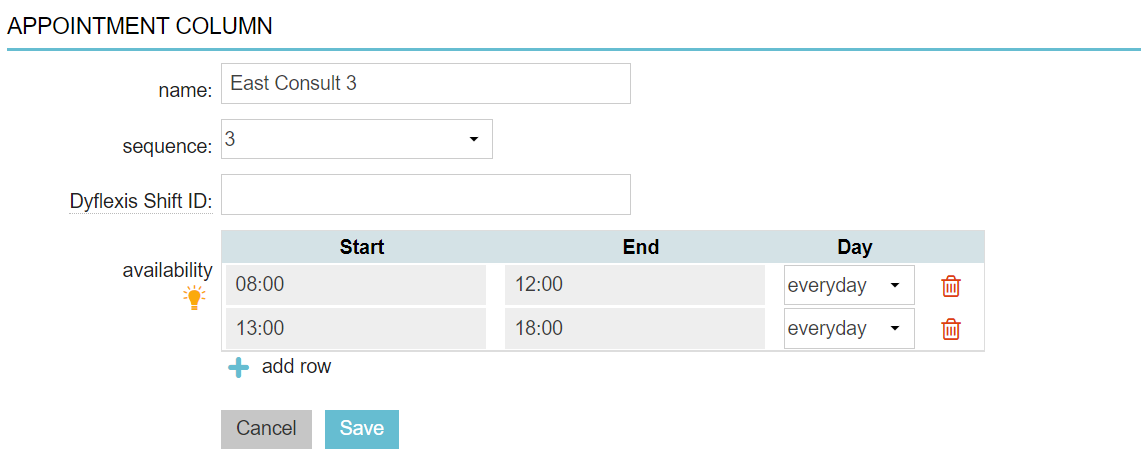
 - A row is added with the default availability. Click on one of the fields to modify it and adjust the start time, end time, and the day(s) of availability for this appointment column.
If you are available at different times on different days, create separate availability lines for each day.This is box titleFor example, is your practice open from 08:00 to 18:00 and do you want a break in the schedule between 12:00 and 13:00? Then add two lines, one with availability from 08:00 to 12:00 for the morning and one with availability from 13:00 to 18:00 for the afternoon. This example would look like this:
This is box titleMake sure you either add a start and end time for “everyday” OR add a start and end time for each day separately. If you do both, you will have a conflict in the column, which will affect online appointment booking. - Click Save.
This is box title
You will need to link this apointment column to an appointment group to make it visible in the diary. You can find more about this in the Related articles below.
This is box title
Note: Unavailable time slots are shown in the diary in a light pink. It is, however, still possible to book appointments in those time slots, to allow for emergencies.
More about this
How do I edit an appointment column?
- Go to
 > General Settings > Appointment Columns.
 - Click the name of the appointment column you wish to edit.
- Make your edits.
- Click Save.