Sometimes, there are certain documents, images or other files you want to link against a patient or herd file. You can do so by using the attachment feature in Animana. This article will explain how to add one or more attachments to either a patient or herd file.
Before you start
- Note that you can upload to 15 files at once, with a total maximum size of 250MB.
- Each attachment file must have a unique name, otherwise it will not upload.
- Make sure the file or image you want to attach is saved on your computer.
- Good to know: attachments add to the storage size of your account and costs may be involved.
Step-by-step instructions
- From the patient or herd file, click Attachment at the top. Depending on your settings, you will find this option either in the row of blue action buttons or in the “More actions” drop-down menu at the top left of the patient file.
- By default, today’s date will be entered, you can change this if needed.
- Select one of the categories from the drop-down menu that is most relevant to the type of file(s) you want to attach.
- Click Choose files.
- Browse and select the files on your computer that you wish to attach.
This is box titleTip: on a Windows computer, hold down your CTRL-key while selecting multiple files to attach them in one go. - Click Open.
- You can add a description in the description field to further explain the content of the attachments.
This is box titleNote that when adding multiple attachments at once, all attachments will have the same description you add here. - Click Add.
The attachments have been uploaded and are visible as separate lines in the patient or herd file.
More about this
Can I remove one or more files while I’m in the process of attaching them?
No, once you’ve clicked Open in step 7 above, you cannot remove the selected files there. You can then either click Choose files again and reselect all the files you wish to add, or go back to the patient or herd file to cancel the process.
How do I adjust the description of my attachment(s)?
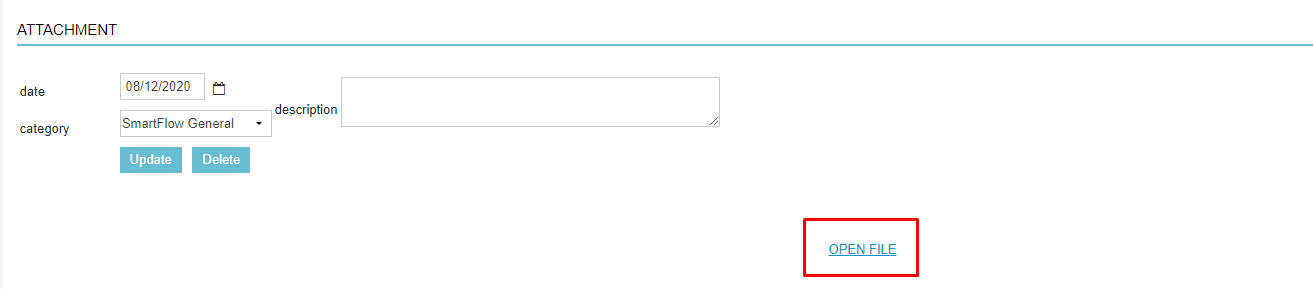
When you add a description to multiple files at once (step 8 above), you may wish to adjust that description for individual attachments. Once they are attached to a patient or herd file, you can click on an attachment to see the attachment details. There, you can adjust the note for that individually selected attachment in the field “description” and click Update.
How do I delete an attachment?
The quickest way is to click ![]() on the right-hand side of the attachment in the patient or herd file.
on the right-hand side of the attachment in the patient or herd file.
Alternatively, you can click the attachment to open it and then click Delete.
Can I add or adjust an attachment category?
No. The categories in the drop-down menu are fixed and cannot be edited.
How do I preview an attachment?
- Images that have been added as an attachment can be previewed directly from either the herd or patient file by simply clicking on it as demonstrated here:
- Files such as PDF’s or Word documents need to be downloaded first before you can view them. You can do this by simply clicking on the attachment in the file and then clicking Open file.
Can I automatically attach files from SmartFlow into Animana?
Yes, it is also possible to automatically attach documents such as SmartFlow forms and flowsheets to a patient file. In order to do so, you need to make sure that the integration has been setup correctly in your SmartFlow account, you can read more about it here. Once a document has been attached to a patient file, you can easily identify these documents by the SmartFlow logo:
