Animana supports various ways to communicate with your clients. This article will explain how to add either a letter or email template to Animana.
Before you start
- You need to have permission to use the Content Designer. Please contact your administrator to obtain permission, or if you are the administrator, make sure to assign the correct role to your account. More information about role management can be found here.
- You could use your internet browser’s spell checker to check the spelling within your templates. Click here for more information: Firefox / Chrome.
Step-by-step instructions
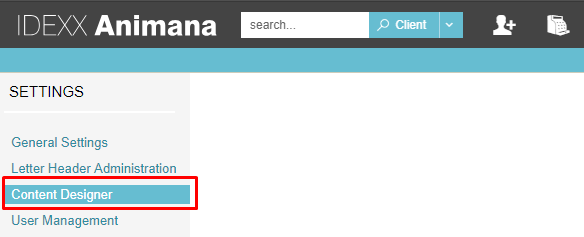
- Go to
 > General Settings > Content Designer.
- Scroll down and click on the plus icon to add a new letter template.
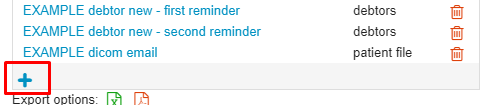
This is box titleNote: adding an email is also done in the Letter tab.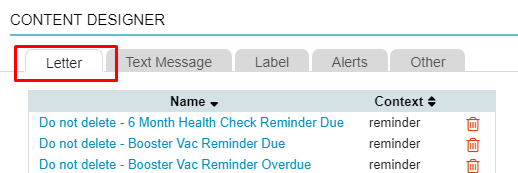
- Give the template a name.

- Select a “Category” and a “Context”.
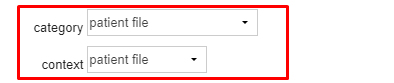 This is box titlePlease note that the category and context need to be set up correctly. Otherwise, the template will not show up on the page where you want it to. To learn more about the correct setting, please click here.
- Select whether the address of the client needs to be printed or not. This address will show at the top of the letter. If the template you are creating is a letter, we advise you to select yes; if you are creating an email select no.

- Select whether the header and footer need to be printed or not. If you are creating a letter we advise you to select yes; if you are creating an email, select no.

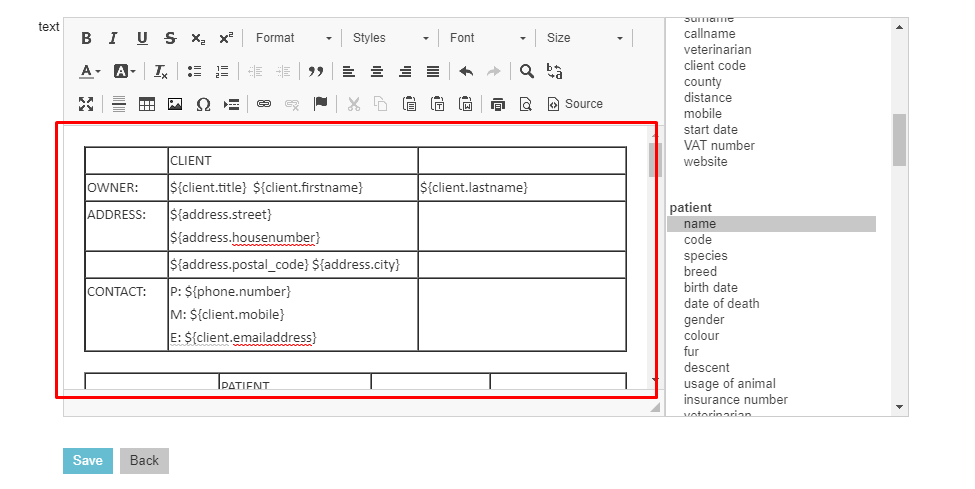
- Enter a subject. When creating a letter a subject is not required. But when creating an email we advise to always add a subject.
 As you can see, the automatically populated fields can also be used in the subject of an email.
 - Enter your content in the text area:
- Once the template is finished, click Save.
More about this
Setting up the category and context
The “Category” & “Context” fields will dictate on which page the template can be used in Animana:
If you do not see your template appear in the right place in Animana, it is likely that you have chosen the wrong category in the setup of the template. Below is an overview that will explain how to combine a category with a context and where the templates can be used as a result of the correct combination:
| Category | Context | Will only be shown when |
|---|---|---|
| Client File | Client File | adding this letter/email to a client file. |
| Patient File | Patient File | adding this letter/email to a patient file. |
| Debtors letter | Debtors | the letter/email send option will be selected in the Debtors page. |
| Appointment email | Appointment | the letter/email send option will be selected in the diary list view. Or when the letter/email send option will be selected behind an appointment in the patient file. |
| Print Letter | Loose Letter | printing a letter via Worklist > Print Letter. |
Previewing your template
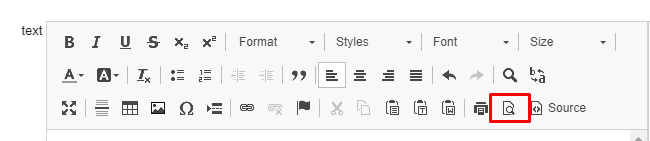
In the editor you are able to preview your work by clicking on the preview icon:
Please note that this preview will display the content in HTML format – which means that the boundaries of the page are defined by the width of your browser/screen. This gives an excellent preview for emails but for actual letters, we advise testing this in an actual client/patient file to see what the final outcome will look like.
Printing Address and header/footer
With your letter, you are able to add the address and header/footer of your clinic. If you select yes in the “print address” option the address will appear on the letter as indicated in the blue box:
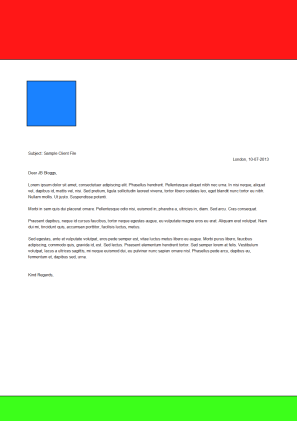
When adding a header/footer the red and green boxes in the above illustration will be filled with the information you have provided.
Note that this does not apply when sending a message as an email. The address block and the header and footer will be removed when this template is being used as an email.
Related articles
- Learning Path: Content Designer
- In focus: Successful emailing
- How do I add tables to my letters and emails?
- How do I add images to my letters and emails?
- How do I get rid of excess whitespace my letters and email?
- How do I add an easy unsubscribe method to my email?
- How do I exclude clients from receiving marketing related messages?