Before you can set up your label printer it needs to be installed on the workstation(s) by you or your IT person. If you need help with installing your label printer please refer to the manual supplied with the printer, check the printer manufacturer’s website or call the printer manufacturer’s support desk.
When the printer is installed and the test page prints okay, the next step is to configure it for use with labels. These settings need to be set on each workstation that is going to be used to print labels.
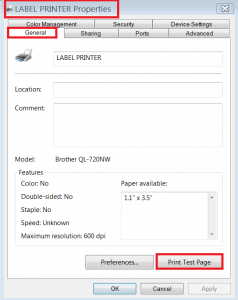
Setting up Printer properties
In Printer properties you can configure the (default) settings for the printer to work as a label printer as well as setting up necessary options for Animana.
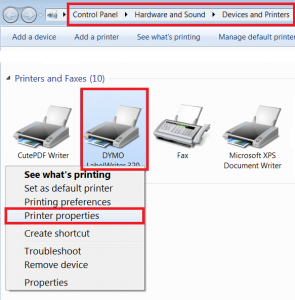
- Go to Start>Devices and Printers and click on the Dymo printer icon with the right button of your mouse to get the extra menu.
- Select Printer properties
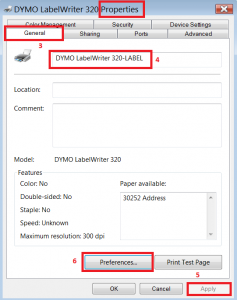
- Select the TAB [General]
- Add ‘LABEL’ to the printer name. Now Animana knows what printer to use when a label is printed.
- Click Apply.
- Click Preferences.
To prevent issues with silent printing or printer selection, there should only be 1 printer per type ‘LABEL’ installed on your computer.
Setting up the printing preferences
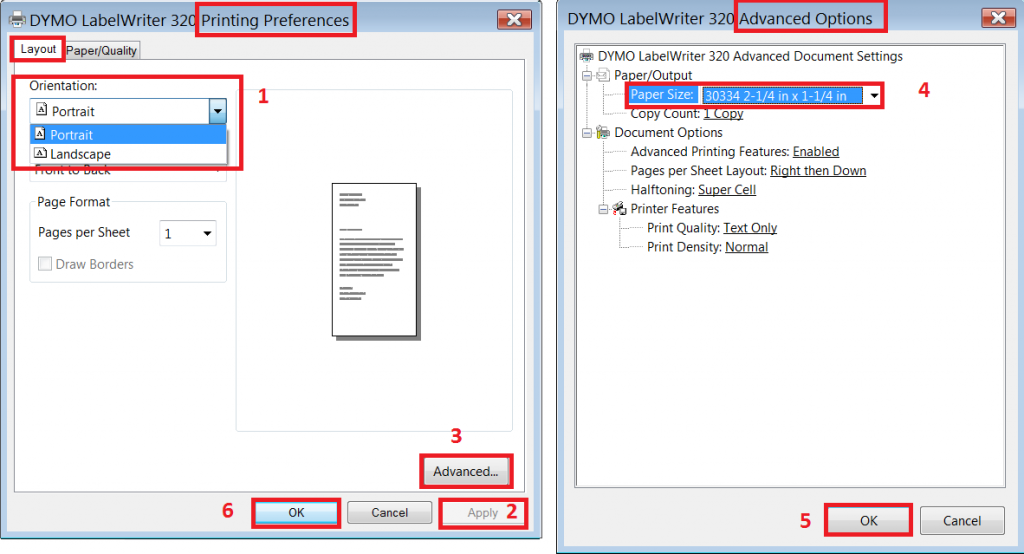
- Select Orientation on Layout Tab.
- Click Apply.
- Click Advanced.
- Select Paper size (note: you can find the 5 digit number identifying your label size on the packaging).
- Click OK to return to Printing Preferences window.
- Click OK.
Testing the printer
- Go to Start>Devices and Printers and click on the Dymo printer icon with the right button of your mouse to get the extra menu.
- Select Printer properties.
- Select TAB [General].
- Click Print Test Page.
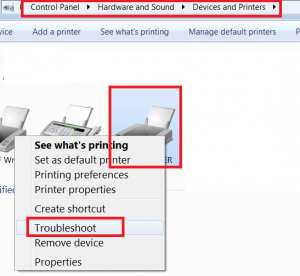
If the Test Page does not print:
- go to Start>Devices and Printers and click on the Dymo printer icon with the right button of your mouse to get the extra menu.
- Select Troubleshoot and follow the steps suggested.