With the Content Designer, you are able to create visually appealing letters and emails by using the content editor. This article will explain how to add images to letters and emails. For adding header and footer images we advise you to read these instructions.
Before you start
- You need permission to be able to use the Content Designer. Permissions can be adjusted by practice administrators in
 > General Settings > Role Management.
 -
Please consider the size of the file before uploading it. While large file sizes for letters might not be a problem, it might cause issues when large files are included in emails. Use tools such as TinyPNG to drastically lower the filesize of your image before uploading.
- Good to know: images add to the storage size of your account and costs may be involved.
Step-by-step instructions
Adding an image via the file manager
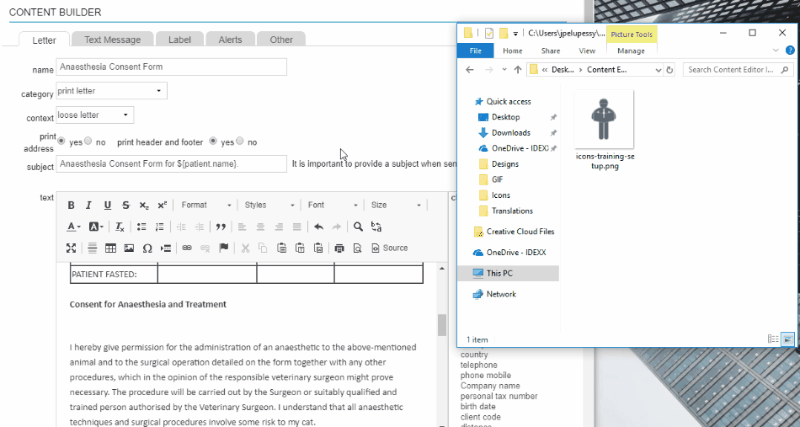
- Go to > General Settings > Content Designer.
- Open a letter/email by clicking on it (or add a new one).
- Put your mouse cursor on the position in the text where the image should be added.
- Click on the add image icon:
- Click Choose file:
 Please consider the size of the file before uploading it. While large file sizes for letters might not be a problem, it might cause issues when large files are included in emails.
 - Select the image you want to upload and click Open:
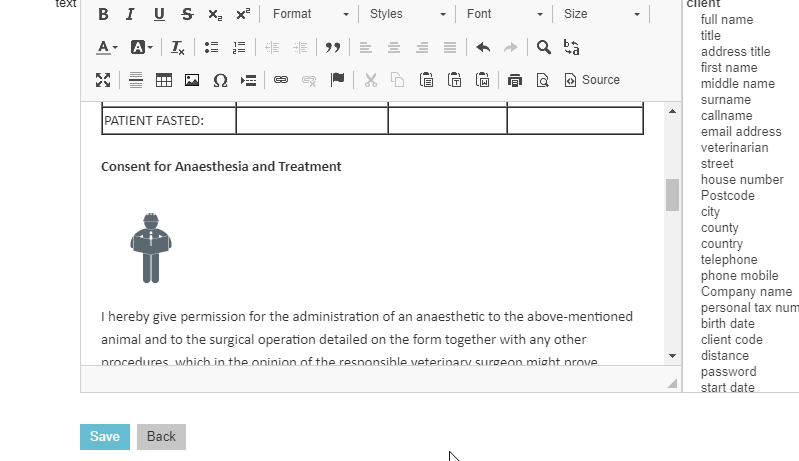
- Click OK:
- The image is added to the letter/email:
- Click Save to save your letter.
Adding an image by dragging and dropping
- Go to > General Settings > Content Designer.
- Open a letter/email by clicking on it (or add a new one).
- Put your mouse cursor on the position in the text where the image should be added.
- Open the folder/location on your computer where the image is located and now drag and drop the image into the editor:
- Click Save.
More about this
Wrapping text around an image
In order to improve the aesthetics, you can wrap text around an image. These instructions will explain how to do this.
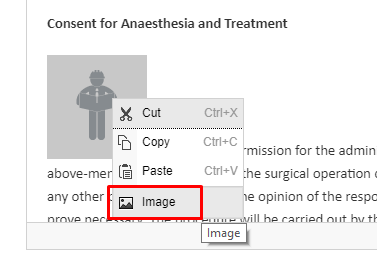
- First, the image needs to be on the same sentence line as the text move your mouse cursor to the beginning of the text, which is adjacent to the image and press the BACKSPACE button on your keyboard:
- Right click on the uploaded image and click image to open the properties:
- Choose the alignment Left or Right. Depending on which option is selected, the image will move to the corresponding side.
Tip: VSpace and HSpace control the vertical and horizontal spacing between the text and image; add a value (e.g. 5) to give your image some extra room.
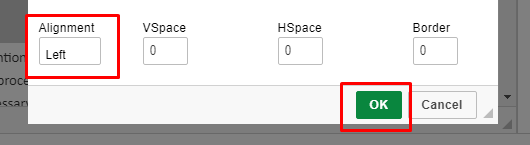
- Click OK.
- Now, the text will be wrapped around the image:
- Click Save.