Before you start sending correspondence from Animana you should set up your header and footers in Animana. When configured, these are included at the top and bottom of letters, forms and e-mails. The instructions below will guide you on how to set-up these header and footer image files.
Before you start
- You need administrator rights to be able to edit these settings.
- Ensure that your header or footer image is stored on your computer and also note the location where the files are saved.
- Make sure that your header/footer image adheres to the following requirements:
- *.GIF format
- We recommend an image 2480 pixels wide by 243 pixels high (equivalent to 300 DPI).
- If you need a taller header just increase the height in pixels, leave the width at 2480px.
Important Note: Header and footer images will always expand to fit the width of the page, which is why we suggest you use the dimensions as detailed above.
Step-by-step instructions
- Go to
 > General Settings > Letter Header Administration.
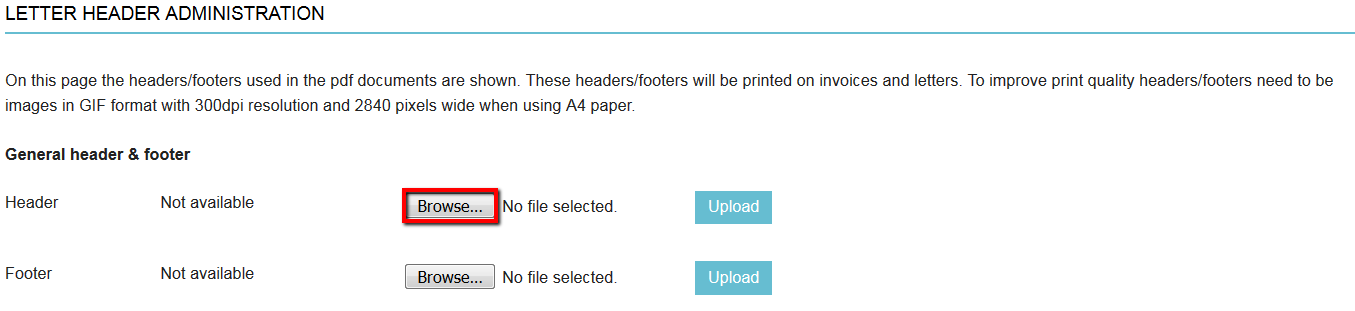
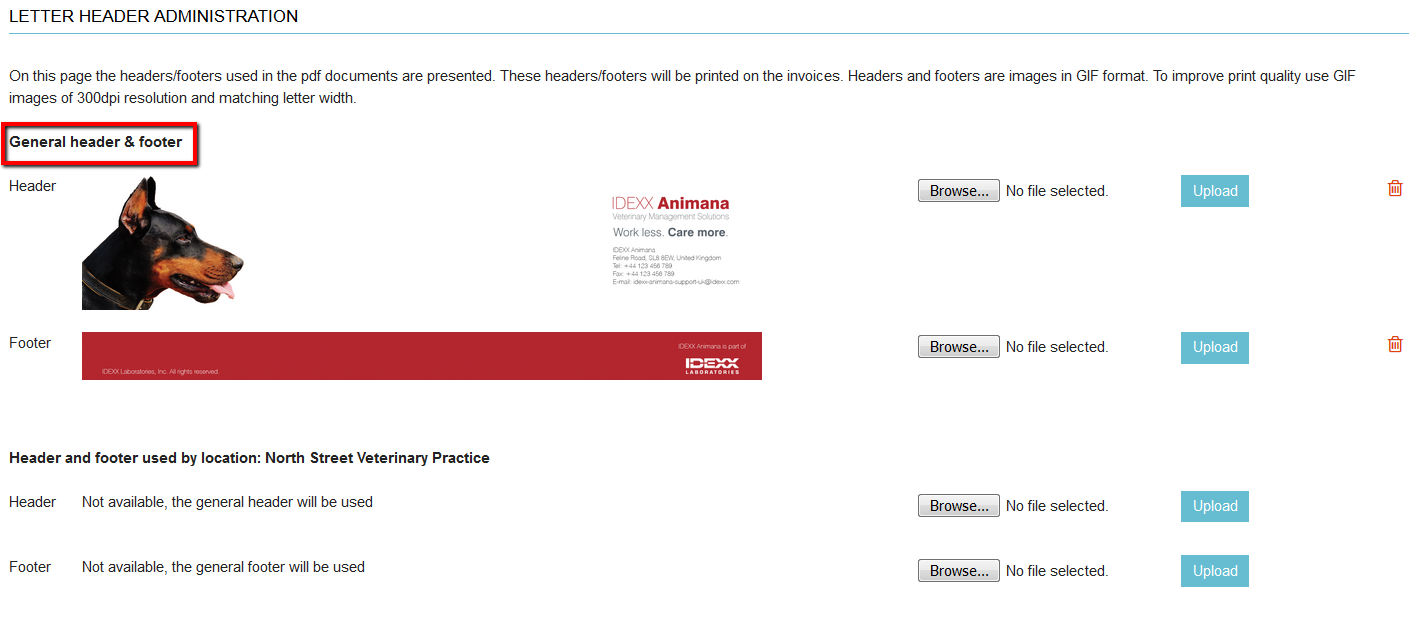
 - You will now see the current header and footer sections. If you have multiple practice locations defined you will see header and footers for each location, please see the section below on working with multiple locations. To add a new image, click Browse (sometimes shown as Choose File).
- A pop-up window will now appear where you must browse for your image file on your computer. Once you have found the image, select it and click Open.
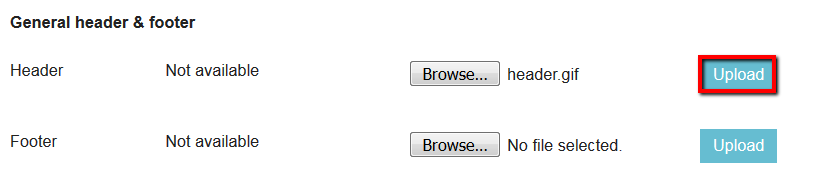
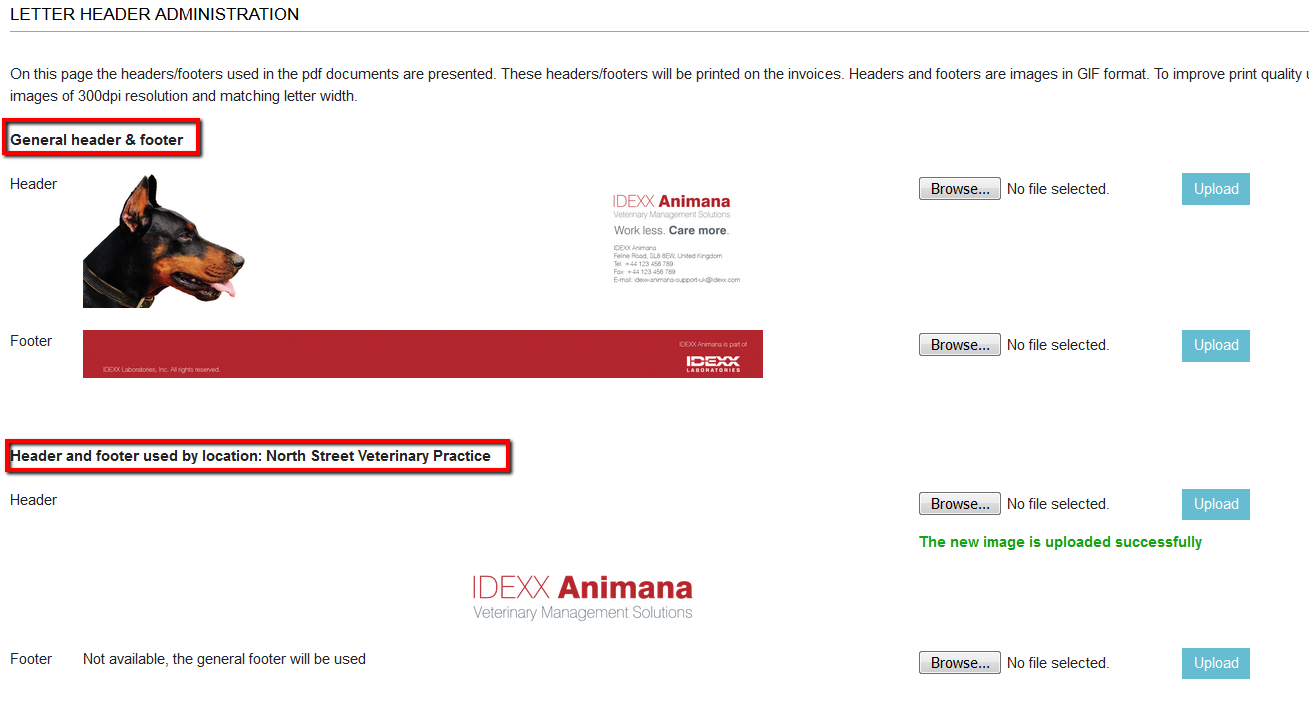
- You will now see the name of your header behind the Browse button. Click Upload.
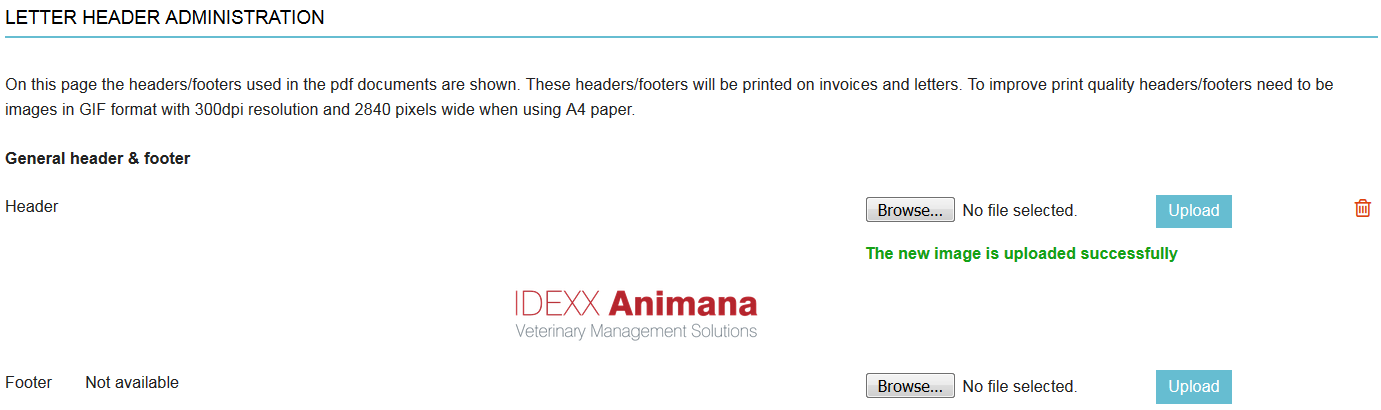
- Wait a few seconds for your image to upload and you should see a preview of your file:
- Should you want to add a footer as well, repeat steps 3 to 6 above but for the Footer section.
More about this
What happens if the image does not meet the requirements?
As an example, if you upload a logo image which is 300×300 pixels, then the logo will fill the width of the page: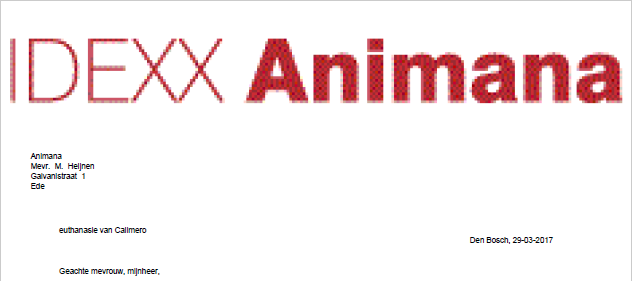
Also note that because smaller images will be stretched, the quality will be decreased.
How do I edit my image if it does not meet the requirements?
If you already have a header or footer, but it does not meet the requirements, you can always use tools such as Microsoft Paint, Photoshop or Pixlr to change certain attributes to make sure it is aligned with the aforementioned requirements. You may also consider asking a third party to make these required changes, often the party that designed your logo can also help you make these changes.
How do I set the header and footer for more than one practice location?
If you have multiple practice locations set up (in ![]() > General Settings > Locations), you can use headers and footers specific to each location. This is useful if the locations are at separate addresses and have their own separate contact details.
> General Settings > Locations), you can use headers and footers specific to each location. This is useful if the locations are at separate addresses and have their own separate contact details.
Using the same header and/or footer for all locations
If you prefer to have the same header and footer for all your practice locations, simply upload the desired header and/or footer as mentioned above to the General header & footer section, which is shown at the top of the page. Leave the header and/or footer of the other locations empty.
Using different headers and/or footers for locations
When you want different headers for all locations, Just go through the one Letter Header Administration page ensuring you upload corresponding header and/or footes for each location.
Mixing headers and footers for different locations
If you want a specific header and/or footer for one location, but a general header/footer for the other locations, do as follows:
- Upload the shared header and/or footer to the General header & footer section.
- Upload the specific header and/or footer to the section specific to the one location.
- Leave the rest of the headers and footers empty (they will inherit the general header and footer).
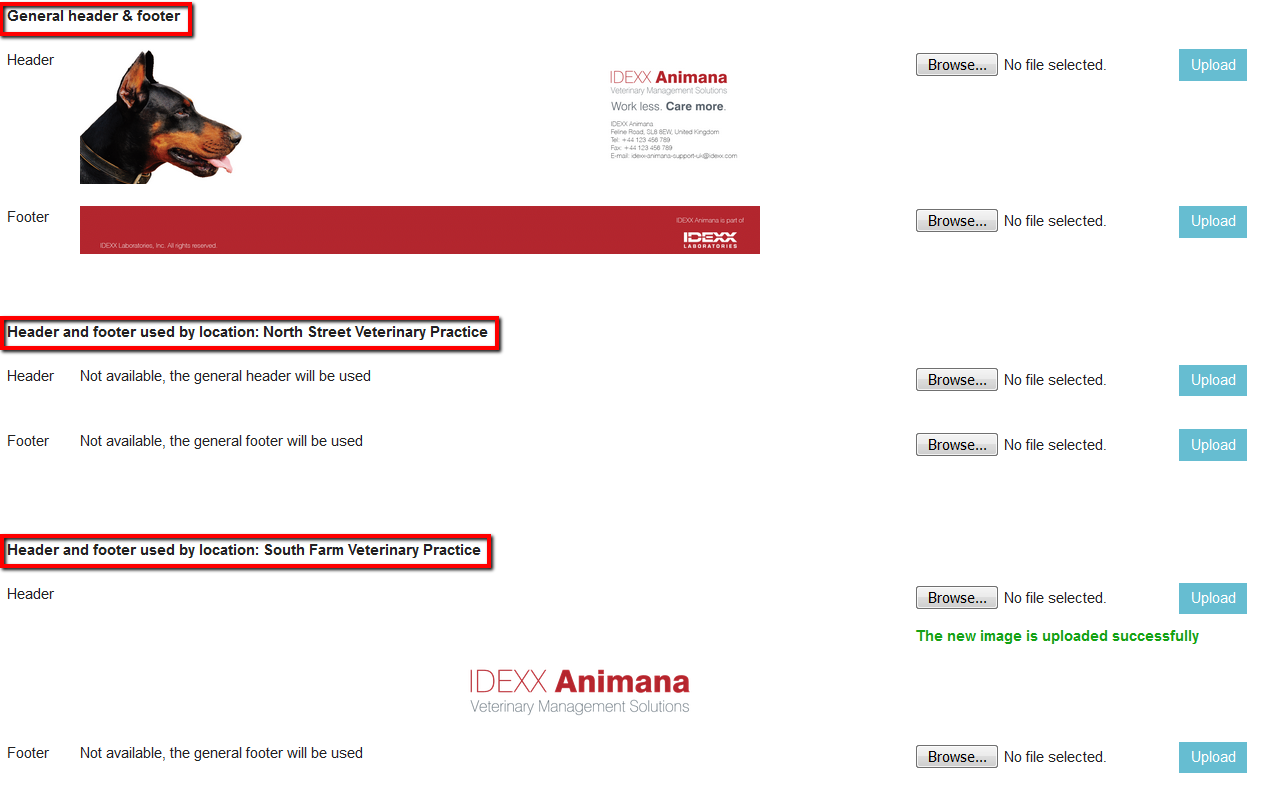
The images you have uploaded per location will always have higher priority than the general header and footer.