Within Animana, product groups make it easier to locate, edit, and adjust product pricing, they are also a key way in which reports are broken down in Animana. In parallel to product groups, you can define “analysis groups”. You can create up to three different analysis groups, each of which can have multiple groupings with multiple products assigned to them – this is especially useful for reporting. This article will explain how you can create and use analysis groups.
Before you start
- You need permission to be able to edit products. Permissions can be adjusted by practice administrators in
 > General Settings > Role Management.
 - Think carefully about what information you would like in your reports. These extra analysis groups can combine products from different product groups.
Step-by-step instructions
- Analysis group 1: Compare “stock”, and “service” products to compare revenue from stock to revenue from services.
- Analysis group 2: Compare different brand of products (such as “Royal Canin”, “Hills”, etcetera) so that we can compare revenue based on brand.
- Analysis group 3: Compare different treatments and/or specialities of the clinic (such as dental treatments, grooming, vaccinations etcetera) so that we can compare revenue based on treatment/speciality.
- Go to
 > Products > Product Groups.
 - Click on Analysis Group 1 (or Analysis Group 2 or 3) at the top.

- Click
 at the bottom to add a new analysis group.
- Enter a name for this grouping.
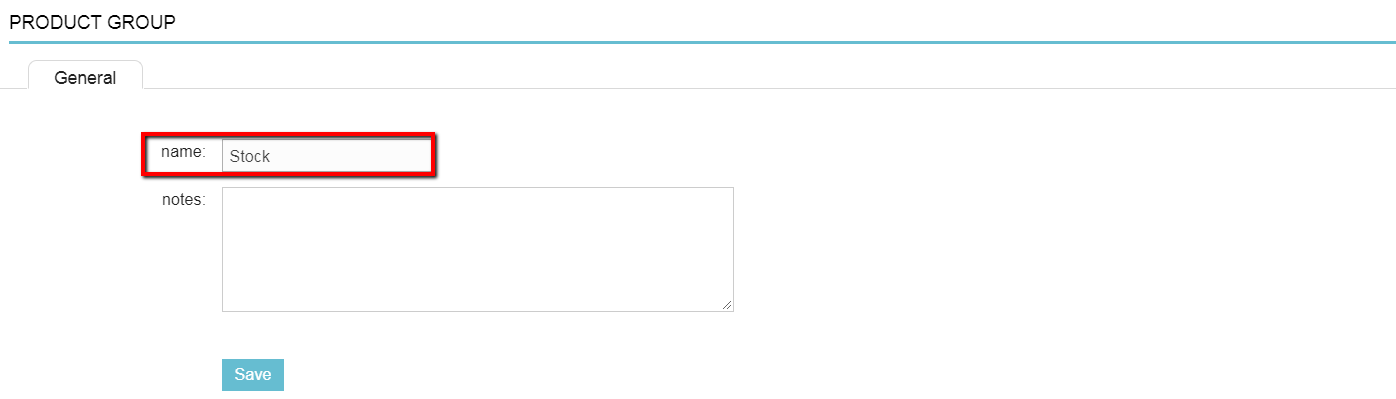
- Click Save.
- Repeat step 3 to step 5 if you want to add more groups within Analysis group 1.

You can create up to three Analysis groups – just click Analysis groups 2 and Analysis group 3 and repeat the steps above.
More about this
How do I link an individual product to an Analysis Group?
Once the analysis groups are created, you can link them to individual products.
- Go to > Products > Products.
- Click on the product that you want to set the analysis groups for.
- Once open, click on the tab Label.
- Set the appropriate choice for the Analysis Groups as appropriate using the drop-down menus.
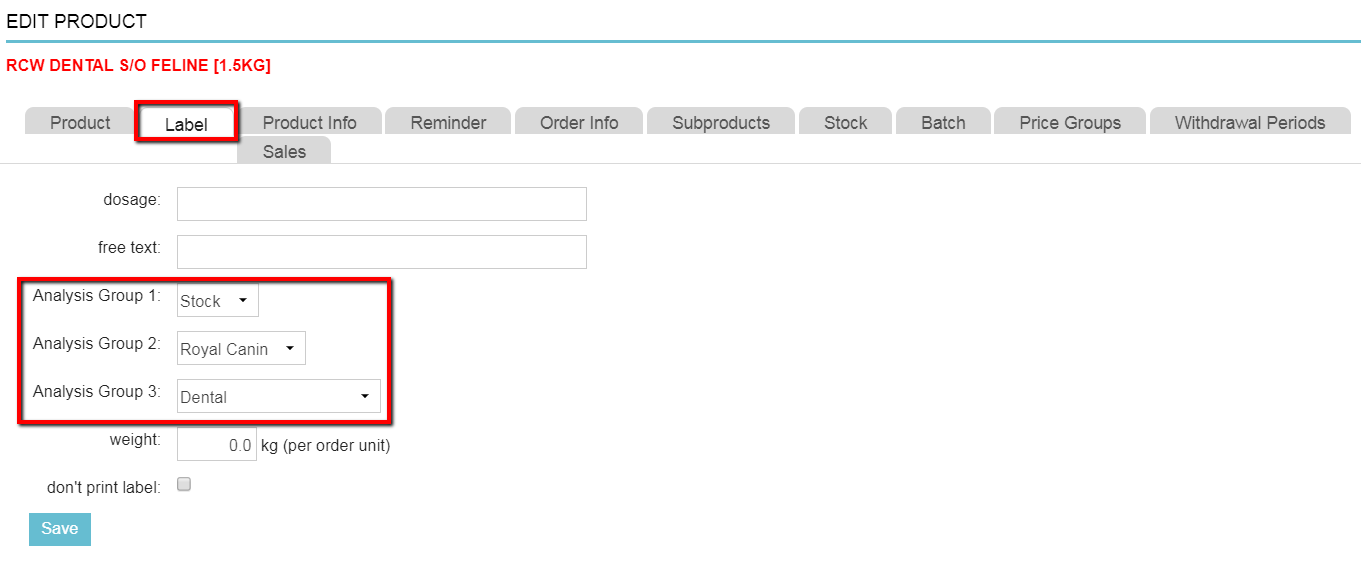
- Click Save.
Note: You do not need to add all three analysis groups to a product; if a group does not apply, just leave it blank.
How do I link multiple products to an Analysis Group?
You can also edit the analysis groups for multiple products at the same time:
- Go to > Products > Edit Products.
- Select “Analysis groups” from the drop-down menu at the top.

- You will see all of your products listed and the three analysis groups behind it. If you want, you can filter on product group at the top to allow easier editing.

- Use the drop-down menus to select the appropriate choices for the Analysis groups.
- Click Save.
This is box titleMake sure to click the Save button for each row after you have selected analysis groups, otherwise, information might be lost!