DICOM stands for Digital Imaging and Communication in Medicine. DICOM images are commonly used for digital x-rays. They are usually stored in a .dcm filetype.
DICOM images can be linked to patient files in Animana. This will happen automatically if the image contains sufficient information for Animana to link it (please refer to the section More about this). The remaining images will need to be manually linked to the correct patient. This article will explain how you can manually link these images to a patient file.
Before you start
- When you want to use DICOM images in your Animana account you will need to activate the DICOM module. You can request the DICOM integration via the request form here. Before completing the form, please make sure that you take the preparations below. Refer to the Related articles for more information.
- Check if files from your x-ray machine can be stored in .dcm format. When in doubt, contact your x-ray machine supplier to see if the X-ray machine can store or convert the files to DICOM files.
- Check which of your office computers stores your .dcm files and identify the location (folder) and write it down. We need the path of the folder where the X-rays are stored: e.g. “C:\dicom”. Note: due to admin rights, this cannot be the computer supplied with your X-ray equipment.
- Make sure that OpenJDK is installed on the computer that stores the .dcm files.
- Make sure that the DICOM uploader is installed on the Windows computer and has access to the files.
- Check how you want to view the images in Animana, either .jpeg or .dcm (or both). Uploading .dcm and .jpg provides an easy way to share X-rays in DICOM format with colleagues by sending them a link. These can be viewed with a DICOM viewer. Uploading only the .jpg files takes up less storage space, but .jpg files cannot be opened with a DICOM viewer and therefore have less options for diagnostic viewing.
- Decide from which date you want the upload to start.
- The first 10GB of storage in your Animana account is free. Depending on the type of digital X-ray machine and settings, the free storage is enough for 1,600 original DICOM files (6 MB per DICOM) or 600 original DICOMS (15 MB per DICOM). Additional costs will be charged when the 10 GB is exceeded.
Step-by-step instructions
- Go to the patient file that the DICOM image needs to be linked to.
- Select Digital X-ray. You will find this option at the end of the blue action buttons at the top of the patient file – either pre-selected or in the Diagnostics drop-down menu.
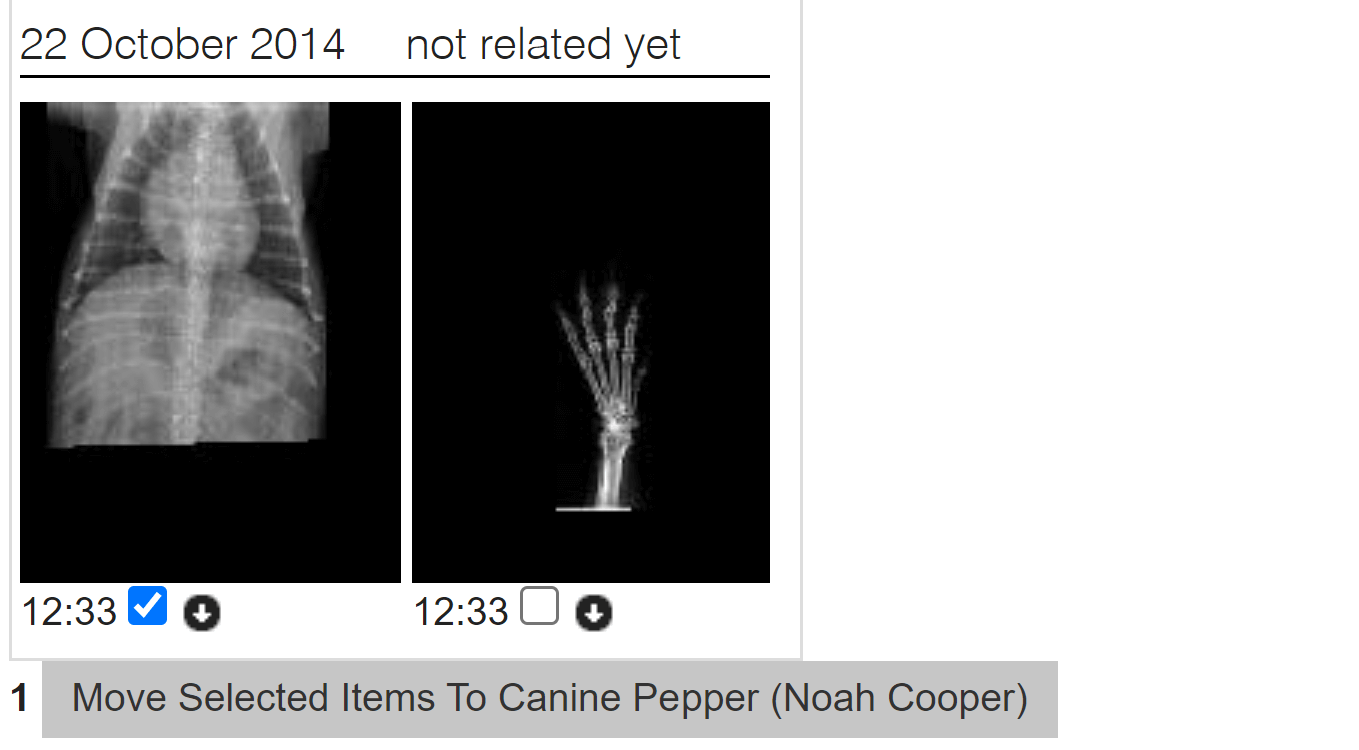
- You will see an overview of all the unlinked images.
- Select the box(es) underneath the image(s) that you want to link to this patient.
- Scroll down and click Move Selected Items To [patient]([client]).

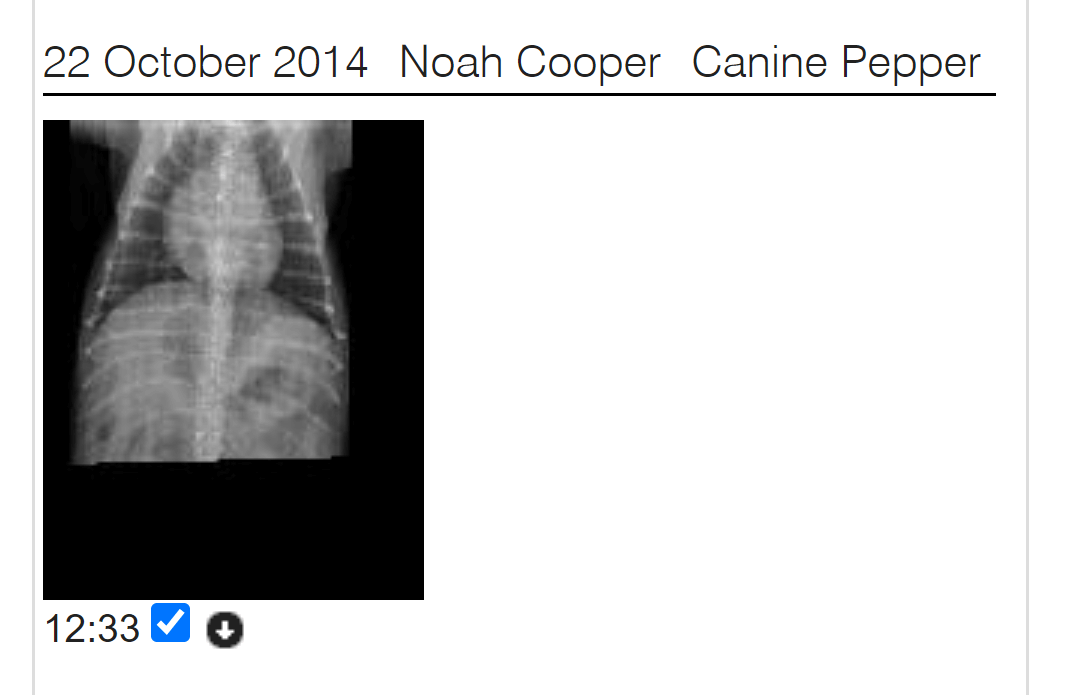
- Click the Patient File tab at the top right.
The images are now linked to the patient file.
More about this
When will images be linked automatically?
When a DICOM is uploaded to Animana the matching logic is as follows:
- Animana first tries to match the “Patient ID” (*) of the DICOM to a patient identification number in Animana (i.e. passport, microchip, …).
- Next, Animana uses the “Patient Name” (*) of the DICOM to find matches with a patient identification number in Animana (i.e. passport, microchip, …).
- Next, Animana uses the “Patient ID” (*) of the DICOM to find matches with a patient number in Animana.
- Next, Animana uses the “Patient Name” (*) of the DICOM to find matches with a patient number in Animana.
- Lastly, Animana uses the “Patient Name” of the DICOM and checks if it contains a ^ or a comma, the system then assumes it represents a client last name and a patient name and will try to find matches.
For each step above, any patient(s) resulting from these criteria will be added to the list of matching candidates. If there’s exactly one candidate, the DICOM will be linked to that patient. If there are no matches – or if there are multiple matches – the DICOM will be sent to the Animana worklist (![]() > Digital Xray) where you can manually link it to the correct patient.
> Digital Xray) where you can manually link it to the correct patient.
(*) Animana can only check the matches with the DICOM “Patient ID” and “Patient Name” when it consists of more than 4 digits.
I’ve linked an image to the wrong patient, how do I move it to the correct one?
- Check the date of the DICOM (in this example: the date of the DICOM in Pepper Cooper’s patient file).
- Open the correct patient file (in this example: Pepper Barnaby’s patient file).
- Click Digital X-ray. You will find this option at the end of the blue action buttons at the top of the patient file – either pre-selected or in the Diagnostics drop-down menu.
- Adjust the date field at the top to the date of the DICOM (see step 1 above).
- Click Show / Refresh.
- Select the box(es) underneath the image(s) that you want to move to the correct patient. Note that the incorrect patient name is mentioned above the DICOM.
- Scroll down and click Move Selected Items To [patient]([client]). This should mention the correct patient, that you want to move the DICOM to. In our example Pepper Barnaby.
- Click the Patient File tab at the top right.
The images are now linked to the correct patient file.