In some cases you want or need to know what happened to a particular payment in the system. That’s why in Animana you have the ability to see who has accepted payments in the application. This article will give you an understanding on how the tracking of payments work.
Before you start
- Please note that tracking the user that processed a payment can only be seen if the user has a User Code defined in ‘User Management’. Adding a user code can be done by browsing to
 > General Settings > User Management > Click on the user you want to edit > Field code:
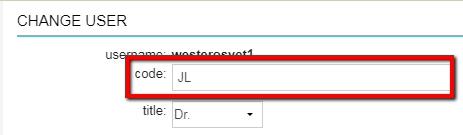 We advise to always enter the initial of every user that will be using Animana.
 - If the user does not have a user code defined, you can always add it later on. Animana will still store the username of who accepted the payment and display the user code, when it’s entered onto their profile in user management.
- Please note that the visibility of who accepted the payment (user name and user code) was only released in software release 3.11 (1st November 2017) and only applies to new payments on or after this release.
Where is the user code visible?
While processing a client payment
When taking a payment on an invoice – on the payment screen you will see a field which says “Accepted by”: 
This field will automatically fill in the user that is currently logged in. (It is also possible to assign the payment to another Animana user depending on your permissions defined by your user role). If you need to change the name and you have access, just click on the name and start typing the name of the user until the name appears. Make sure to click the name, verify the payment details and click Finish. If the user filled in is not your name and you do not have permissions to change it on the screen, then switch over to your user profile in Animana before taking the payment
When you look up the payment in the client file by opening the invoice and clicking on the payment tab, you will see an overview which shows the user code of the user that accepted the payment:

In the Client File
When opening a Client File, the payments that the client has made will not show by default. Tick the checkbox “payment” at the top and the payments will appear along with the user code on the right side: 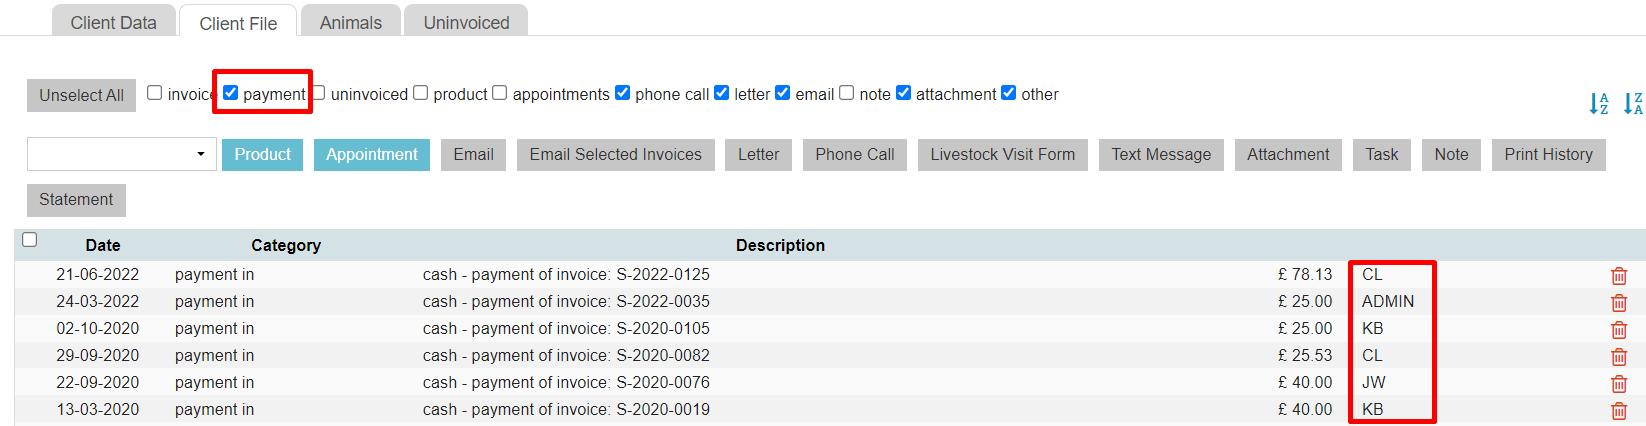
In the Day Overview page
The user codes will also be shown in the Day Overview page. Browse to Extra > Financial > Day Overview, in the payments section you will see all the payments that have occurred during that day including the users that accepted them:

When clicking on Book Receipt the default user name of the person logged in will be displayed. Only users with certain permissions will be able to change the name. You will need to log in with your name should you wish to display your name and be logged as the user who took the payment.
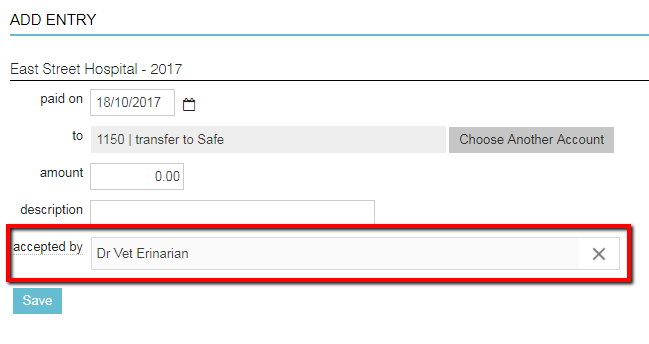
Same principle applies when you click on Book Cash Transfer:
When adding a new transaction via Balance Cash/Bank
Browse to ![]() > Financial > Balance Cash/Bank click on Add new transaction on any of the books displayed on this page:
> Financial > Balance Cash/Bank click on Add new transaction on any of the books displayed on this page:

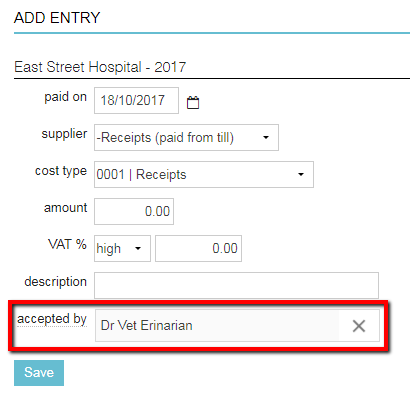
On the right side you are able to enter the amount but also the name of the user that is accepting or accepted the payment:
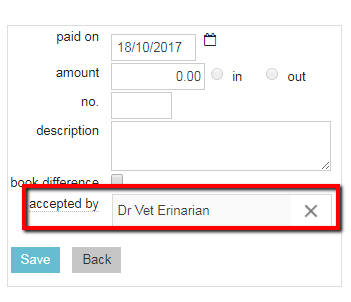
Once the payment has been saved, you may open one of the pages related to the payments:

On the next page you will see an overview of all the payments, which will also be marked with the user code that accepted the payment:
