The Content Designer in Animana offers a wide variety of styling options for your letters and emails. This article will give instructions on how to adding tables but also how to find and edit the properties.
Before you start
- You need to have permissions to use the Content Designer. Please contact your administrator to obtain the permission, or if you are the administrator, make sure to assign the correct role to your account. More information about role management can be found here.
- If you working on your letters and emails in maximized mode, please note that the Save button will disappear. In order to save your letter/email, please click the maximize button again to see the button and save your content accordingly. The maximized mode can be found as shown below:

Step-by-step instructions
- Open a letter/email in the Content Designer (
 > General Settings > Content Designer > Click on a letter to open it) or add a new one.
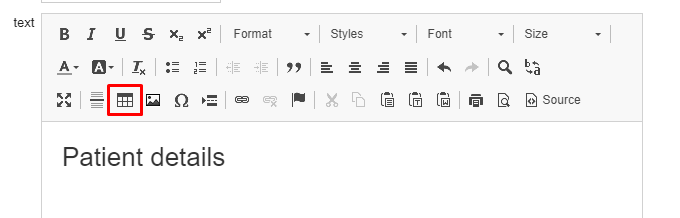
 - Move the cursor to where you would like to add a table and click on the table icon:
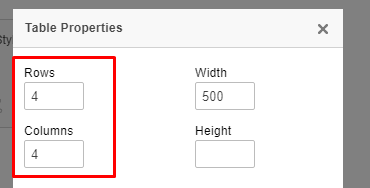
- Next, select the number of rows and columns that the table needs to contain:
- Note that it is important to always set a 100% width for the table if you are using letters, but if you are creating emails use a fixed width of 600px:
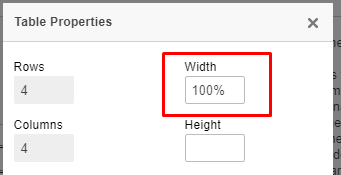
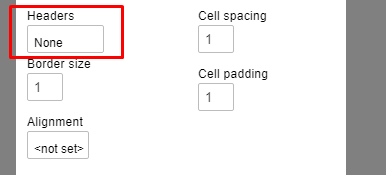
This means that the table will use the full width of a page to display. - Select whether the first row or column contains header information:
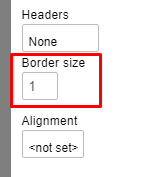
- Indicate how thick the border of the border should be changing the border size value:
- Click OK at the bottom of the pop-up.
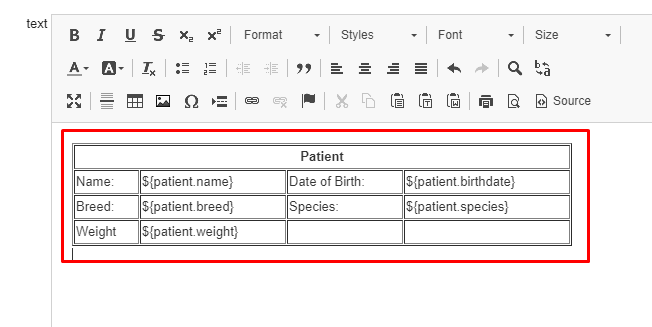
- The table has now been added to the letter/email. Next step for you is to fill it with content:
 This is box title
If you working on your letters and emails in maximized mode, please note that the Save button will disappear. In order to save your letter/email, please click the maximize button again to see the button and save your content accordingly. The maximized mode can be found as shown below:

More about this
Changing the spacing/padding around the text in a cell
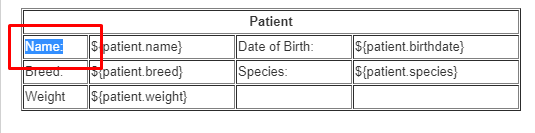
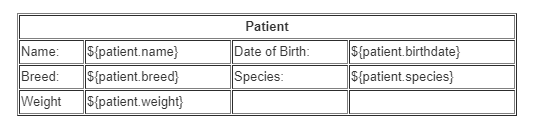
Sometimes you will want to add extra spacing around text in a cell. In the following example you can see that the text hits the border on the left side:
To give it more room, you will have to adjust the “Cell padding” of a cell.
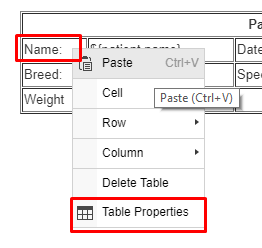
- Start by right-clicking on a cell, click Table Properties:
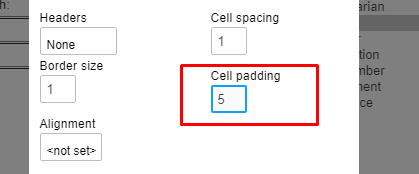
- Change the cell padding to the desired value:
- Click OK.
- The text of all the cells in this table now have a padding around them. See a before and after example:Before adding padding:
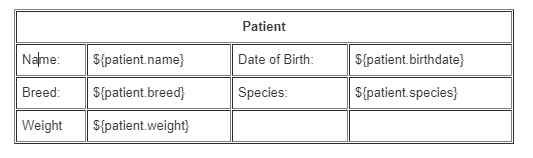
After adding a 5 pixel padding:
Merging cells
The editor also gives the opportunity to merge multiple cells together.
- Select the cells that need to be merged by highlighting them, right click on your mouse, select cells and merge them: