Animana uses an application to automatically upload DICOM images as soon as these images have been made available in a specified folder. This ‘DICOM uploader’ is a program that looks for digital X-rays (dicom files) in a specific location and uploads them to your Animana account so they can be linked to patients. It needs to be installed on a computer that is always running during working hours. Normally, this DICOM uploader needs to be started everytime when you start up your computer. These instructions will help you automate this process so you do not have to manually start the uploader again.
Before you start
- Please note that you need to have administrator rights on your computer to get this working. If you don’t have these rights, please get in touch with your IT administrator.
- Make sure your computer is running on the latest version of your operating system and all the updates are installed.
Step-by-step instructions
The instructions are different depending on your Operating System. Click on one of the options below to see the instructions that most relevant to you.
- In Animana, navigate to
 > Digital-Xray.
 - Scroll to the bottom of the page and click Start Dicom Uploader.
- You will be prompted to download a zip file called “animana-dicom.zip”. Save this file to your Desktop.
- Once downloaded do not open the file, but go to your desktop and right-click with your mouse on the folder.
- Select Extract All…
- Now you need to select the location where the files need to be unzipped to. Click Browse behind the suggested location.
- In the menu on the left, select Desktop.
- Create a new folder by clicking New folder at the top of the menu.
- Name it animana-dicom.
- Click Select Folder.
- Make sure that “Show extracted files when complete” is ticked.
- Click Extract. Windows will now unzip the files from the .zip file to your computer.
- Once it’s done, it will open the animana-dicom folder. Double click the “windows-dicom-install.bat” file.
- A window will open, showing the installation progress. Wait until you see the notification “Press any key to close this window”.
- Open the folder C:\Users\[USERNAME]\AppData\Local\DicomUploader\bin.
- Right-click the file “windows-dicom-start-bat”, click New and then select Shortcut.
- As the shortcut location choose your Desktop.
- Now delete the folders in step 3 ( “animana-dicom.zip”) and step 9 (“animana-dicom”) from your computer.
The DICOM uploader will be automatically started and from now on, it will automatically start when you start your computer.
- In Animana, navigate to > Digital-Xray.
- Scroll to the bottom of the page and click Start Dicom Uploader.
- The file will be automatically downloaded
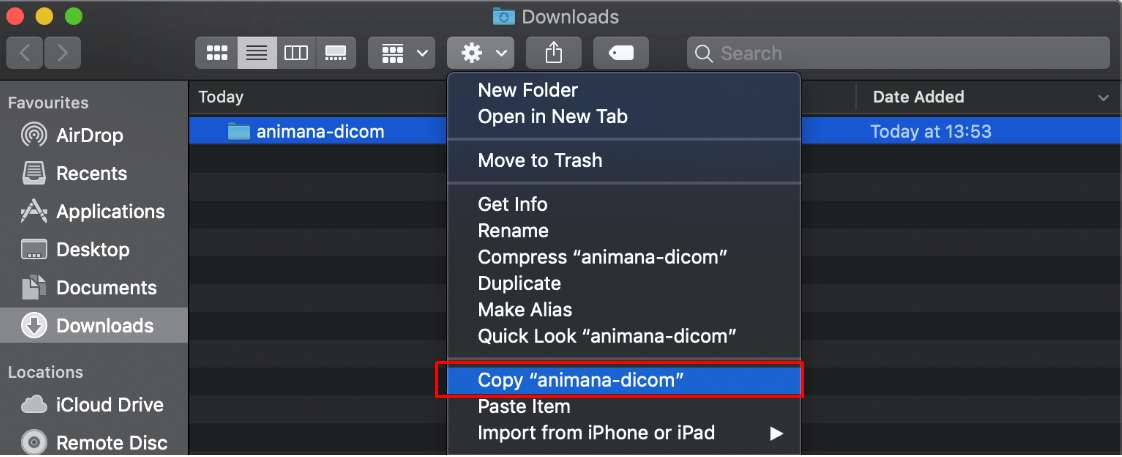
- Open your Downloads folder in Finder.
- Here you will find the “animana-dicom” folder. Copy this folder by clicking it, clicking the cog next and clicking Copy “animana-dicom”.
- Next, CTRL+Click on your desktop and click Paste item.
- Now open up finder and search for User & Groups. Click on User & Groups.
- Click on the user that needs to run the DICOM uploader automatically, on the left-side.
- Click Login Items.
- Click on the +-icon at the bottom.
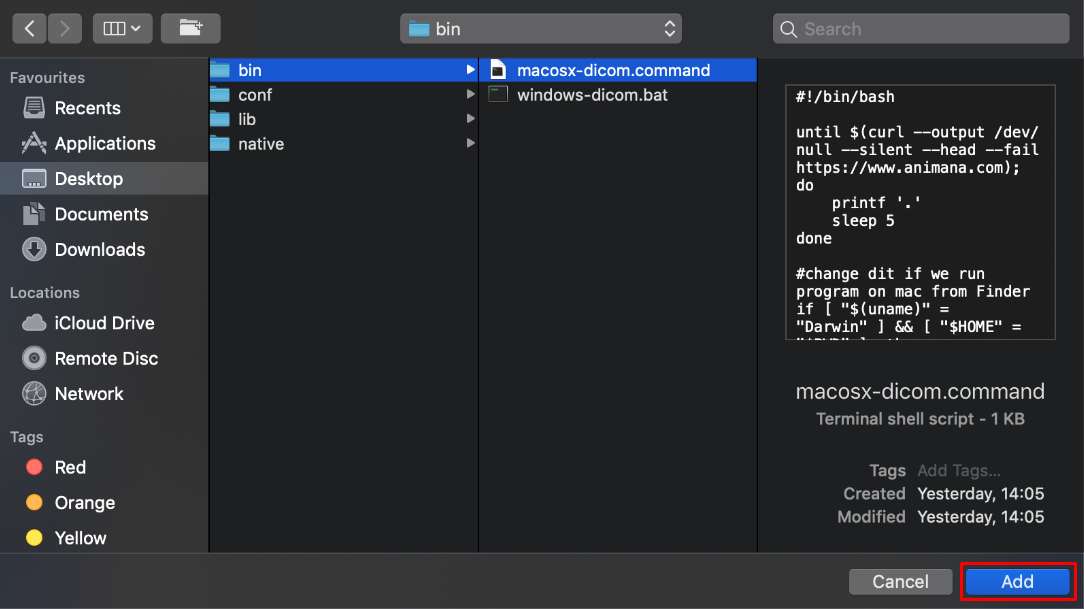
- Now select the Desktop folder, select the “animana-dicom” folder, and click on the “macosx-dicom.command” file.
- Click Add.
The DICOM uploader will be automatically started and from now on, it will automatically start when you start your computer.