Google Chrome is one of the browsers that IDEXX Animana supports. When set up correctly it will greatly improve the user experience of IDEXX Animana.
Before you start
This article will explain how to set up your browser, it will not provide detailed instructions on how to set up silent printing. If you need more information about that topic, please see Related Articles.
Install Google Chrome
- Download Google Chrome for free by clicking here.
- Click the Download Chrome button.
- Open the “chromesetup.exe” file at the bottom left corner of the screen. If you are asked, click Accept and Install in the system dialog boxes to agree to the terms and conditions by clicking Accept and Install.
- An installation file will be downloaded, open this file to start the installation.
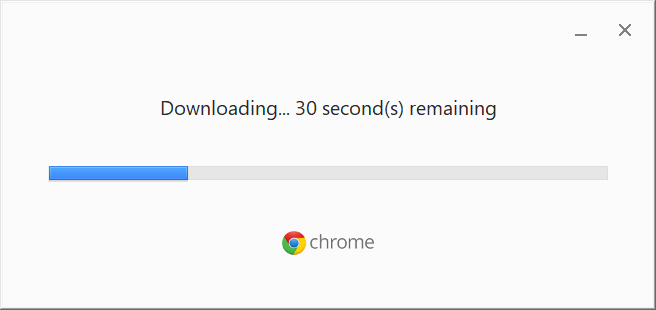
- Once the installation has started, the browser will be downloaded:
- Once the download is finished the installation will begin and will notify you once it is complete. Click Close.
Set Chrome as the default browser
Make sure that Google Chrome is your default browser. Each operating system works a bit different when it comes to setting a default browser. Please select which one applies to you.
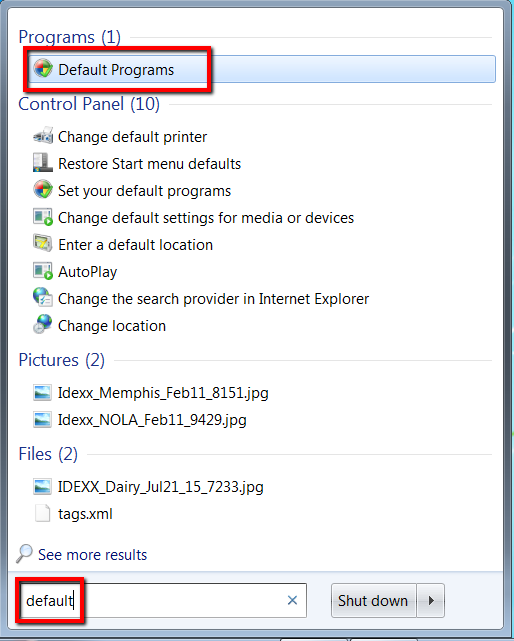 A window will open, click Set your default programs:
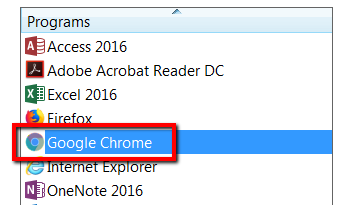
Select Google Chrome on the left side of this window:
 Click Set this program as default to make Chrome your default browser:

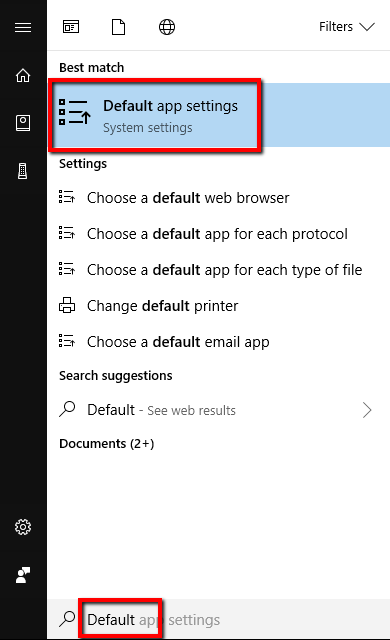
- Open the Start menu, type in Default and select Default app settings:
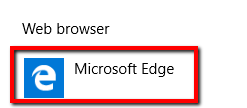
- Browse to the section “Web Browser” and click the icon below (often Microsoft Edge):
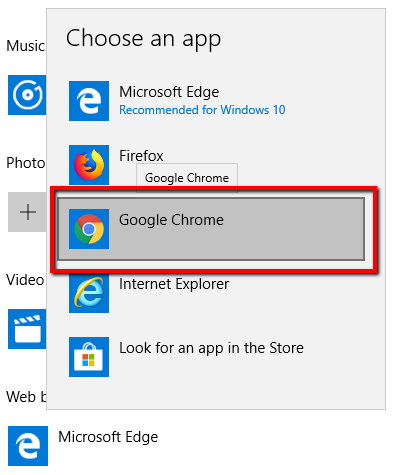
 Select Google Chrome from the list “Choose an app”:
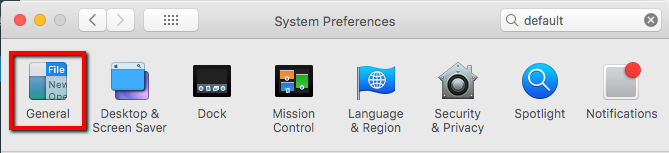
- Click the Apple Icon at the top-left corner.
- Click System Preferences
- Click General:
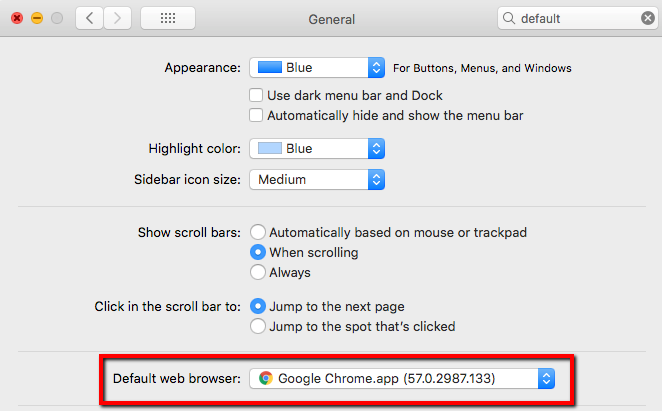
 Make sure the Default web browser is set to Google Chrome.app:
Chrome settings
- Open Chrome
- Click
 at the top-right corner of Chrome.
 - Click Settings.
Proceed with all the below changes.
Making Animana your homepage
- Open the Chrome settings as described above.
- Click On startup
- Select the radio button which says Open a specific page or set of pages:
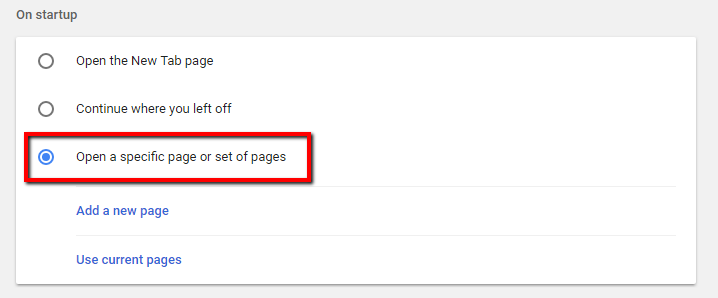
- Click Add a new page.
- Type in (or copy and paste):
https://login.animana.com
in the URL field. and click Add.
- The URL will be added as shown in the image below:
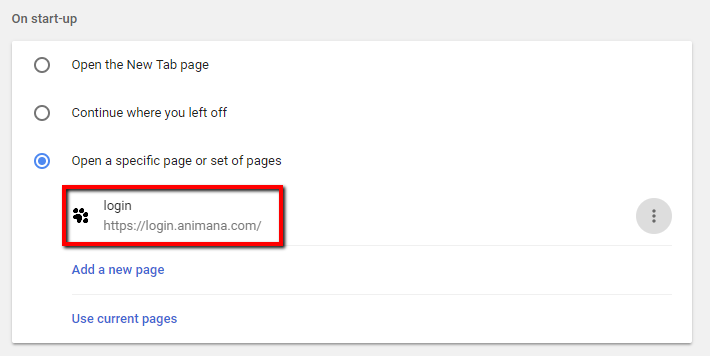
Next time Google Chrome is opened, Animana will automatically open.
Ensuring pop-ups from Animana are allowed
- Open the Chrome settings as described above.
- Type “pop” in the search bar at the top:

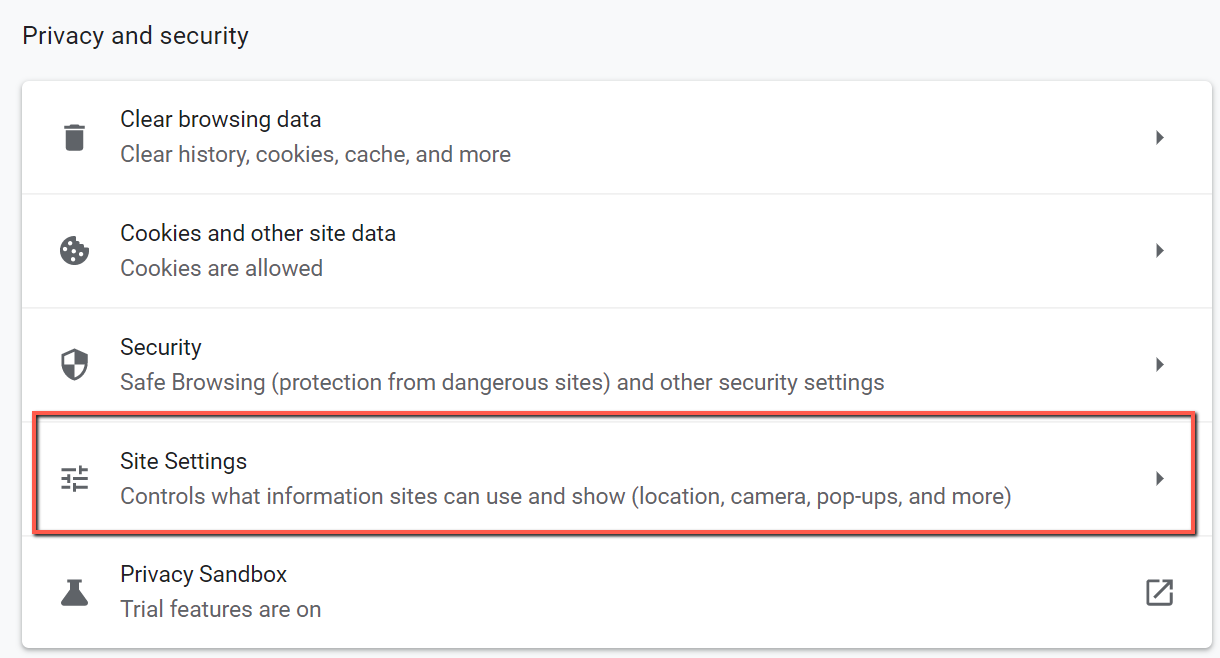
- Click Site settings:
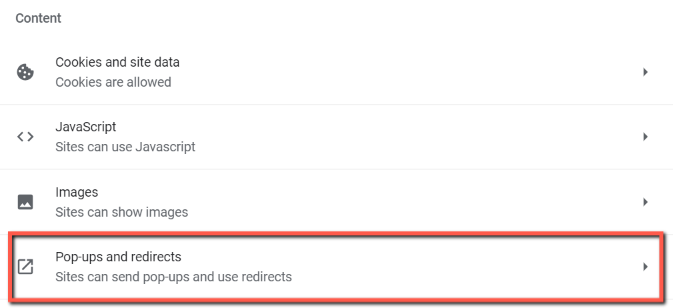
- Click Pop-ups and redirects:
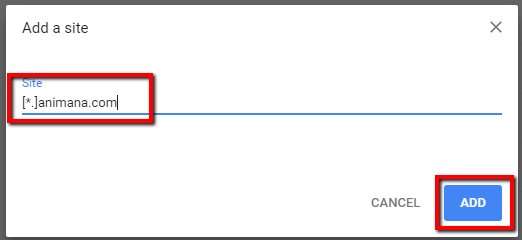
- Click Add in the “Allow” section of the page:

- Type (or copy and paste):
[*.]animana.com
and click Add.
 This is box titleAlso add the following if applicable:
1. “https://ordering.vetconnectplus.com” to ensure you have no issues in opening and printing VetConnect Plus order forms from the patient file in Animana.
2. “https://idexx.islonline.net/users/main/join.html” to ensure the link “Join a support session” at the bottom of each Knowledge Base page will work for you.
Disabling the password management functionality
At IDEXX Animana we take security very seriously, that’s why we advise taking precautions against unwanted access. This next set of instructions will explain how to disable the password management functionality in Chrome, this means that the browser will not automatically fill in your password details when you arrive at Animana.
- Open the Chrome settings as described above.
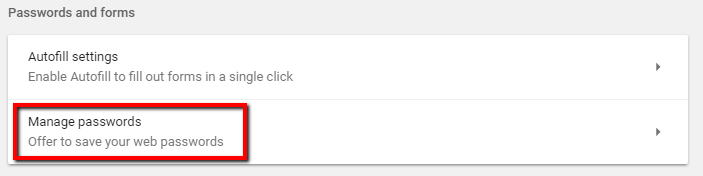
- Type “password” in the search at the top:

-
Click Manage passwords:
- Click the slide to disable the password functionality:

Enabling the blue help question mark in Animana
Animana uses technology to provide assistance and guidance whilst using the software. That guidance can be used by clicking on the blue question mark at the bottom right corner. To make sure that the blue question mark always shows, follow the steps below.
- Open the Chrome settings as described above.
- Type in “Cookies” in the search bar at the top.

- Click Cookies and site data.

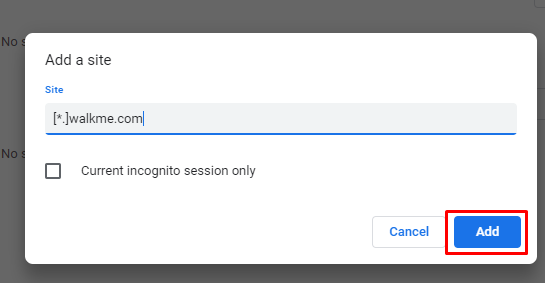
- Scroll to chapter “Customized behaviors” and click the Add button behind “Sites that can always use cookies”.

- Type [*.]walkme.com in the “Site” field.
- Click Add.
Now restart your Google Chrome browser.