A manual insurance claim (Patient File > Insurance Claim) can be created when you are working with insurance companies that are not currently supported through Animana’s integration with VetEnvoy. Manual claims don’t have to meet any specific requirements in order to be saved and can be emailed to a client or printed for the client.
Before you start
- To create a manual claim, you will need to have already populated the following fields in patient data and in client data:
- Client Data: Client mailing address (including postcode)
- Client Data: Phone number
- Patient Data: Patient name
- Patient Data: Species
- Patient Data: Breed
- Patient Data: Birth date
- Patient Data: Insurance company
- Patient Data: Insurance policy number
-
Please note that to begin an insurance claim at least one unclaimed and invoiced product must be listed on the patient file.
Step-by-step instructions
Details of claim section
In the first part, we will focus on the first section of the claim, which is called “Details of claim” and it looks like this:
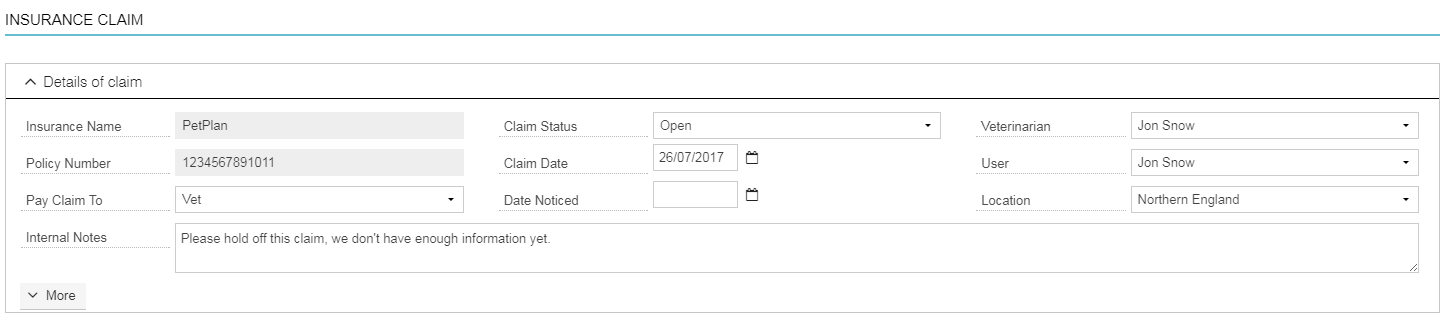
- From the Patient File select Insurance Claim. Depending on your settings, you will find this option either in the row of blue action buttons or in the “More actions” drop-down menu at the top left of the patient file.
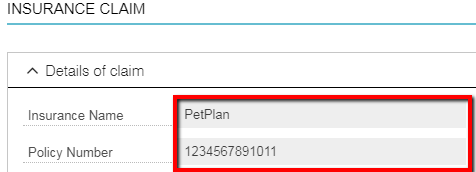
- Note that the “Insurance Name” and “Policy Number” fields are greyed which means that they cannot be changed during this process:
- The “Pay claim to” field is populated with “Vet” by default. This means the client does not pay the invoice at the clinic, but the claim is sent to the insurance company and they will pay the vet directly.
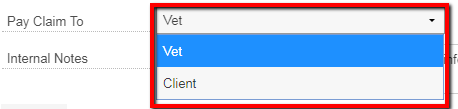
The invoice will be booked with “No Payment”. On your bank statement, you will be able to retrieve the reference number of the claim with the payment of the insurance company. If your client did pay the invoice and you will send the claim for the client, then choose “Client” in this drop down menu.
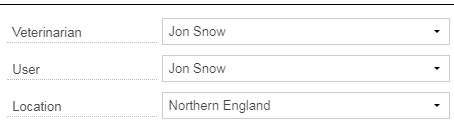
- The “Veterinarian” field is pre-populated with the name of the vet (current user) that is entering the claim; but when a nurse is entering the claim, the field will be blank and all users with user type “Vet” will be given as an option in the dropdown-menu. Note that the “User” field will be pre-populated with the name of the user that is currently filing the claim. The “Location” field will display the current location in which the current user is logged in to.
- You may also enter information in the “Internal Notes” field. The information mentioned in this field will show in the Centralised Claim Screen and will not show on the claim sent to the insurance company:

The internal notes will remain editable throughout the whole process of sending and acceptance/decline of the claim
‘More’ section
Behind the More button you will find:
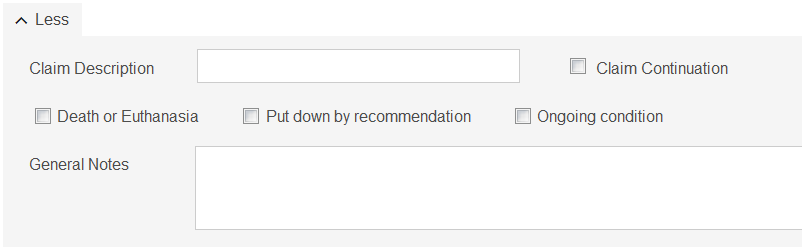
Client and Patient section
The “Client and Patient” section should look like this:

The grey fields for Client Name and Patient Name are pre-populated and not editable. Behind the More button you can fill the preferred method of contact of the client and any other insurers that the client is subscribed to.
Clinical history
When using the “Clinical History” section, you are able to manually type in the patient history, which should look like this:

You can fill in the date, time and select the user that has written the patient history.
Also note that none of the fields in the Clinical History section will be pre-populated. If you decide not to manually type in the patient history, you can print one off from the patient file in Animana and enclose that attachment to the claim.
Vet Diagnosis
The treatment period and diagnosis can be entered in this section.
Invoice items claimed
Invoice items can be claimed at the “Invoice Items Claimed section”. And should look like this:
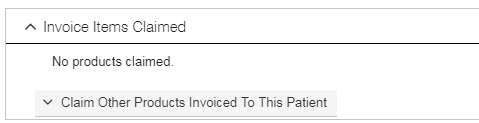
In order to add invoice items to the list, please continue with these steps
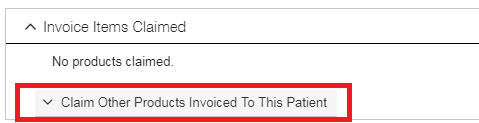
- Click on Claim Other Products Invoiced To This Patient
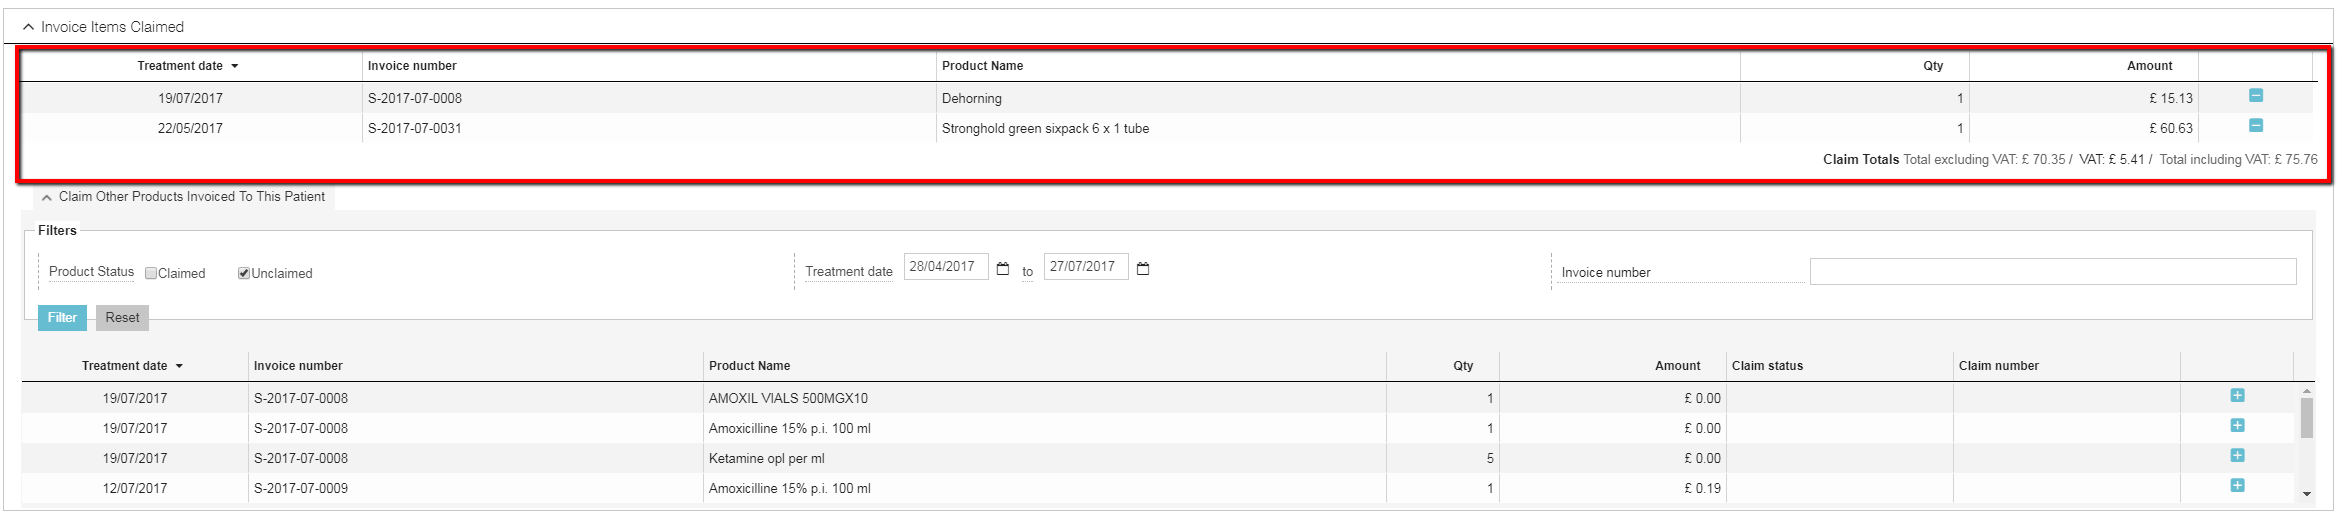
- By adjusting the filters you can see other products based on claimed or unclaimed status, treatment period or you can filter by particular invoice numbers as shown below:
 Please note that if a product has been entered on another claim, it cannot be added again.
 - By default, you will be shown all invoiced unclaimed products from the last three months.

- These items will be sorted based on the treatment date as can be seen in the leftmost column. To add an item, click on the + sign on the right:
 Tip: Even though the invoiced items will be sorted in chronological order on your screen, always make sure to add them in chronological order as well. If this is not done, then the invoiced items will show in the order that you have added them to the claim when printing the claim.
 -
Once the items have been added, they will be moved to the table at the top of this section:
- If you want to delete one of the invoice items, click the – sign at the right side.
Note: In some cases, invoiced items which were created in your previous practice management software – will not be available for selection in the claim. It depends on which software you used before and how the data was converted. If the invoiced items you wish to add are not available because they predate your use of Animana, you can re-add the items to a new invoice and back date it to the correct date, but add the product again with an equal negative amount (so that no payment is necessary). This makes those invoice lines available for selection in the claim.
Saving the claim
When you have completed all required information click the Save or Print button at the bottom of the page. Clicking the print button will also save the claim in the patient file.
Claim status
It’s important to note that the status of the claim can only be changed manually by the user in the “Claim Status” field in the “Details of claim” section of the claims page. In order to this, proceed with the following:
- Open the claim
- Go to “Claim Status” and change the status by simply selecting it via the dropdown-menu:

No automatic status changes will happen since Animana is not aware of any progress on a manual claim.
Editing the claim
To edit a claim, simply click the claim from the patient file, edit the details, and re-Save.
Printing/emailing the claim form
Whilst creating or editing a claim you can print via the Print button at the bottom which will generate a PDF which can be printed or emailed.
At the end of the row in the patient file for the “insurance claim”, the buttons will enable you to send the claim in an email, preview as a PDF and print the claim.