Animana supports electronic insurance eClaims via the VetEnvoy service/Petios. More information about available insurers can be found on this page. Insurance claims are created from the Patient File, by choosing Insurance Claim from the drop-down list of protocols.
Before you start
- In order to be able to start a new eClaim, the following fields on the Patient and Client file should be filled in and completed before you continue:Client DataPatient DataIf one or more of these fields are not populated you will see an error when submitting a claim, indicating what is missing.Client mail address incl. postal code
Client phone number
Patient Name
Patient Species
Patient Breed
Birth Date
Insurance company
Insurance policy number (ONLY add the Insurance number here. Using symbols like ‘/’ will cause an error)
- Be aware that the fields marked with the
 icon are mandatory for the eClaim.
 - Also note that you will need to add a product to the patient before you can claim it. At least one product with a positive value (not being zero) should be added.
Step-by-step instructions
For a valid eClaim, you will need to complete the six mandatory eClaim fields before the Send button will be enabled. Those are, per section:
- Details of the claim: Date Noticed
- Clinical History: Date, Time, Entered by, History text
- Vet Diagnosis: Diagnosis of the vet
All other fields on the form are optional. Additional fields can be found by clicking on More.
Let’s continue by looking at every section of the eClaims in more detail.
Details of claim section
In this section we will focus on the Details of claim section. This section should look like this:

- From the Patient File select Insurance Claim from the dropdown-menu of protocols:

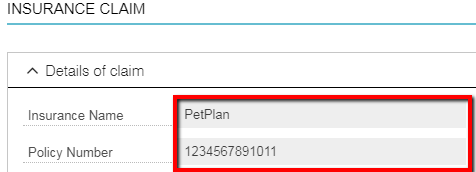
- Note that the “Insurance Name” and “Policy Number” fields are greyed which means that they cannot be changed during this process:
- The “Pay claim to” field is populated with “Vet” by default. This means the client does not pay the invoice at the clinic, but the claim is sent to the insurance company and they will pay the vet directly.
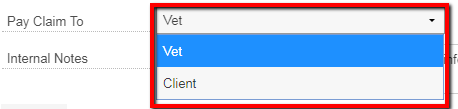
The invoice will be booked with “No Payment”. On your bank statement you will be able to retrieve the reference number of the claim with the payment of the insurance company. If your client did pay the invoice and you will send the claim for the client, then choose “Client” in this drop down menu.
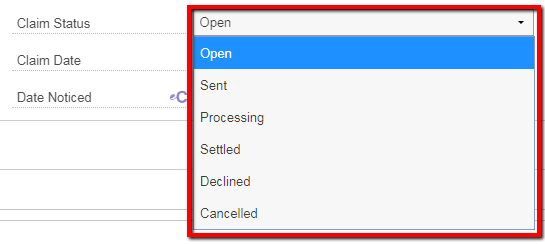
- The status will remain editable until the claim has been sent, because it is only then that it is an eClaim. As long as the claim has not been sent it’s still considered a manual claim, which means you can always edit the claim status.
- Notice that the “Date Noticed” field as the eClaims icon next to it, which means this information is mandatory:

- Veterinarian is pre-populated with the name of the vet (current user) that is entering the claim; when a nurse is entering the claim, the field will be blank and all users with user type ‘vet’ will be given as an option in the dropdown-menu. Note that the “User” field will be pre-populated with the name of the user that is currently filing the claim. The “Location” field will display the current location in which the current user is logged in to.

- You may also enter information in the “Internal Notes” field. The information mentioned in this field will show in the Centralised Claim Screen and will not show on the claim sent to the insurance company:
 The internal notes will remain editable throughout the whole process of sending and acceptance/decline of the claim
‘More’ section
Behind the More button you will find the following fields:
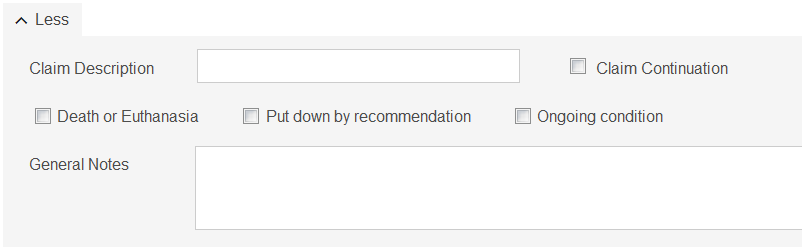
If you tick Claim Continuation an extra (mandatory) field will appear where you can fill in the Claim Reference Number.
Client and Patient section
The “Client and Patient” section should look like this:

The grey fields for Client Name and Patient Name are pre-populated and not editable. Behind the More button you can fill the preferred method of contact of the client and any other insurers that the client is subscribed to.
Clinical history
When using the “Clinical History” section, you are able to manually type in the patient history, which should look like this:

You can fill in the date, time and select the user that has written the patient history.
Also note that most of the fields in the Clinical History section will be pre-populated, the “Time” fields are the exception. As you can see, these fields all have the eClaims icon next to them which means they are mandatory fields. If you decide not to manually type in the patient history, you can print one off from the patient file in Animana and enclose that attachment to the claim.
Vet diagnosis
The treatment period and diagnosis can be entered in this section.

First you will see the treatment date, which by default is pre-populated with the date of today. The treatment date is leading when generating an attachment for the complete patient history (see below, under attachments). The diagnosis is a mandatory field.
Invoice items claimed
Invoice items can be claimed at the “Invoice Items Claimed section”. And should look like this:
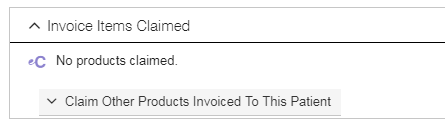
In order to add invoice items to the list, please continue with these steps
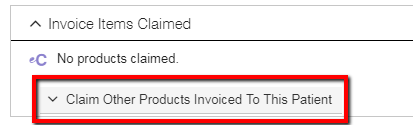
- Click on Claim Other Products Invoiced To This Patient
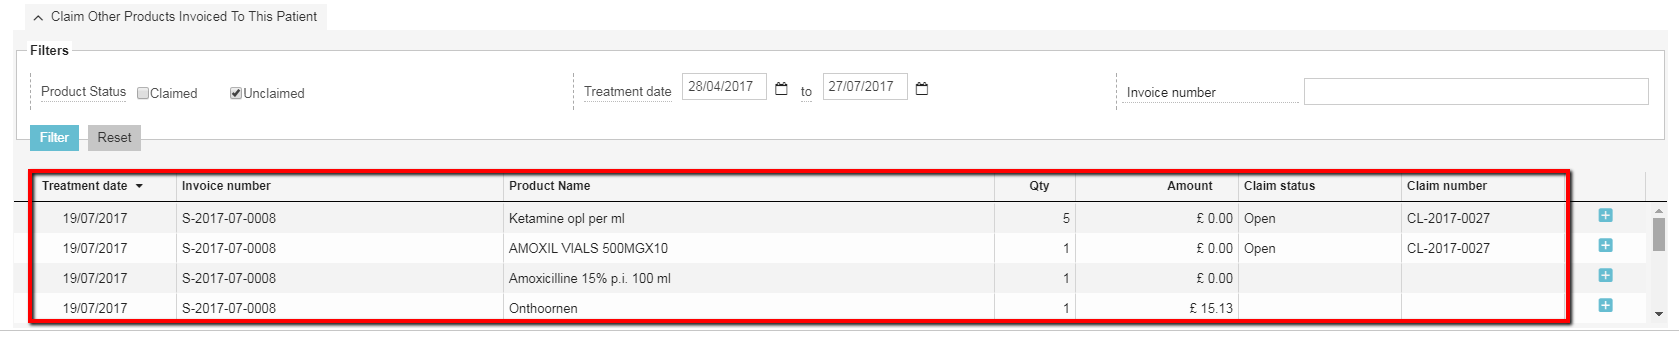
- By adjusting the filters you will be able to see other products based on claimed or unclaimed status, treatment period or you are able filter on particular invoice numbers as shown below:
 Please note that product that have been entered on another claim cannot be added.
 - By default you will be presented with all invoiced unclaimed products from the last three months.
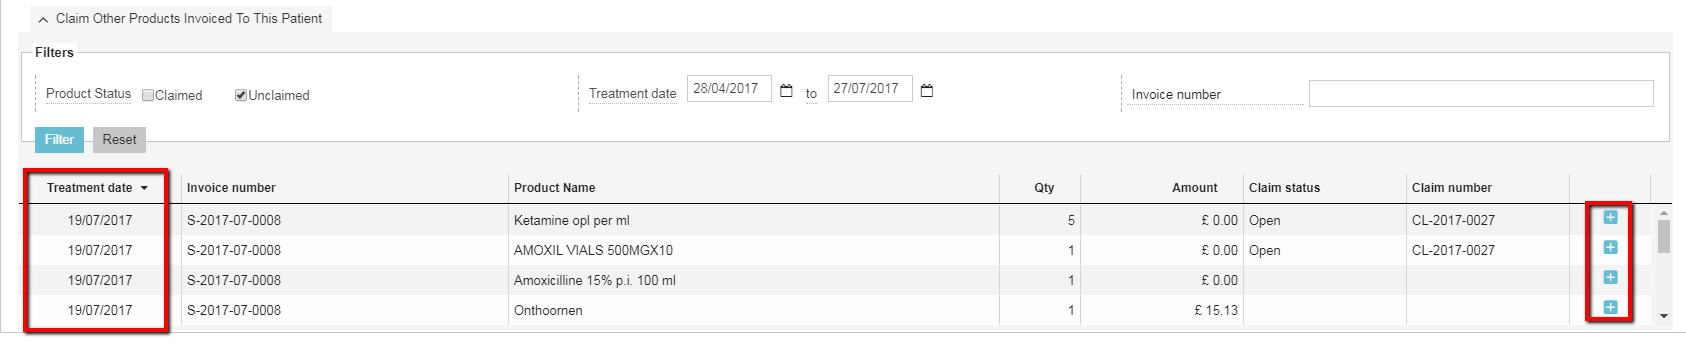
- These items will be sorted based on the treatment date as can be seen on the left column. In order to add an Invoice Item click on the + sign next to the invoice on the right:
-
Once the items have been added, they will be moved to the table at the top of this section:
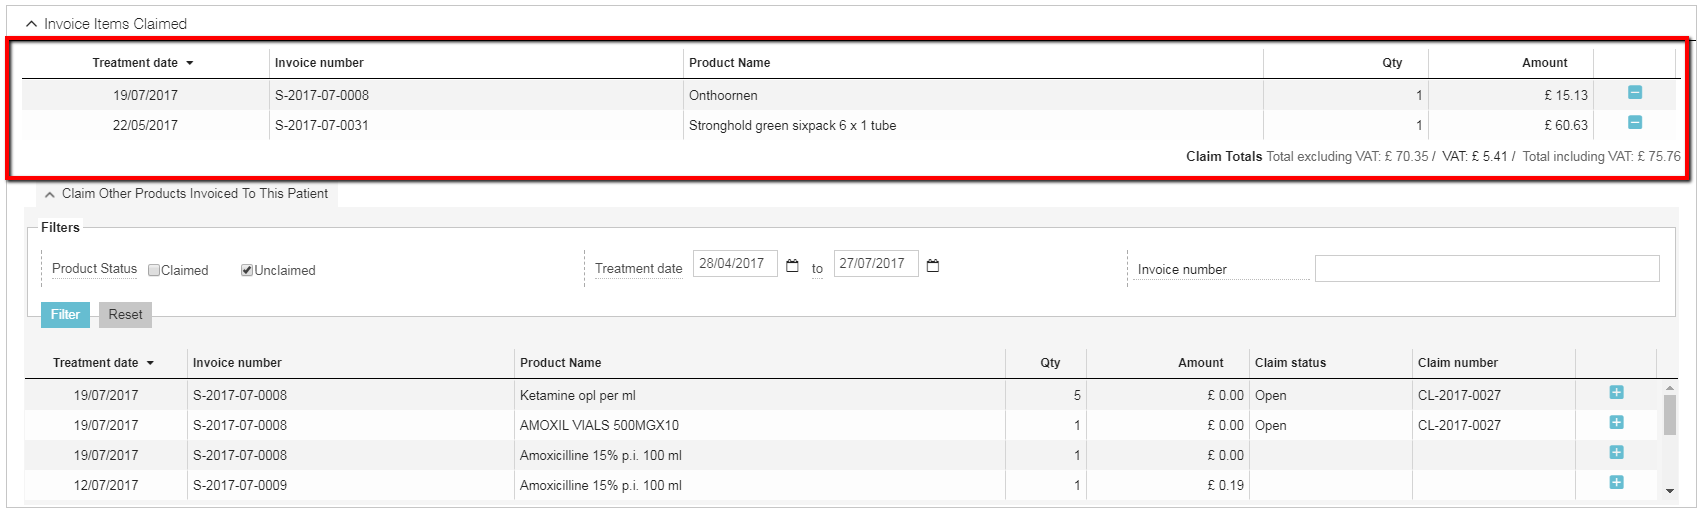
- If you want to delete one of the invoice items, click the – sign at the right hand side.
Attaching a PDF of the Patient History to a claim
- In case you need to end the Patient History with the claim, you can easily do that by clicking on the Create PDF Of Patient History button:
 The file will contain records up until the treatment end date that you entered in the claim form. If you edit the treatment end date after you have added the patient history file, you will have to create the history file once more to only include records up until the treatment end date.
 - An uploaded file has the ability to be previewed by clicking the Preview Icon on the right side as shown below:

- In order to attach the PDF to the claim, make sure that the tickbox is ticked:
 Notice that the file is added because it is showing in the “Attachments” column and an icon is appearing saying that the attachment is “Ready to Send”.
Things you should know
- If something in the Patient History changes, the claim needs to be updated with a newer version. In these types of situations, we advise you to remove the ‘wrong’ history file from the claim and from the patient file. The name of the file will contain the policy number and the treatment end date. If you click the button “Create PDF of Patient History” once more, a second file will be created with the same name, followed by “_2”.
- An attachment that was already sent with a claim cannot be sent again with that same claim. Neither when it has been edited. It can only be attached to a new claim.
- The size limit for an attachment is 9.5MB. Attachments larger than this will not be sent!
The following items from the patient file are included in the document:
- General Protocol
- Weight
- Diagnosis
- Invoice detail (products)
- Protocol Surgery
- Lab results
- Admittance protocol
- Dental protocol
- Imports from previous PIMS
- Custom protocols
Removing an attachment
To remove an attachment from the Ready to send list, simply un-tick the check box in the Select Attachments list or click on the file name.
Communication
This information section is mainly for Animana Support purposes but could help you determine where the claim is exactly in the process. It shows all interactions that have happened, like sending the claim, the attachments and settlements or declines by the insurance company. By clicking on a line you will see the details.
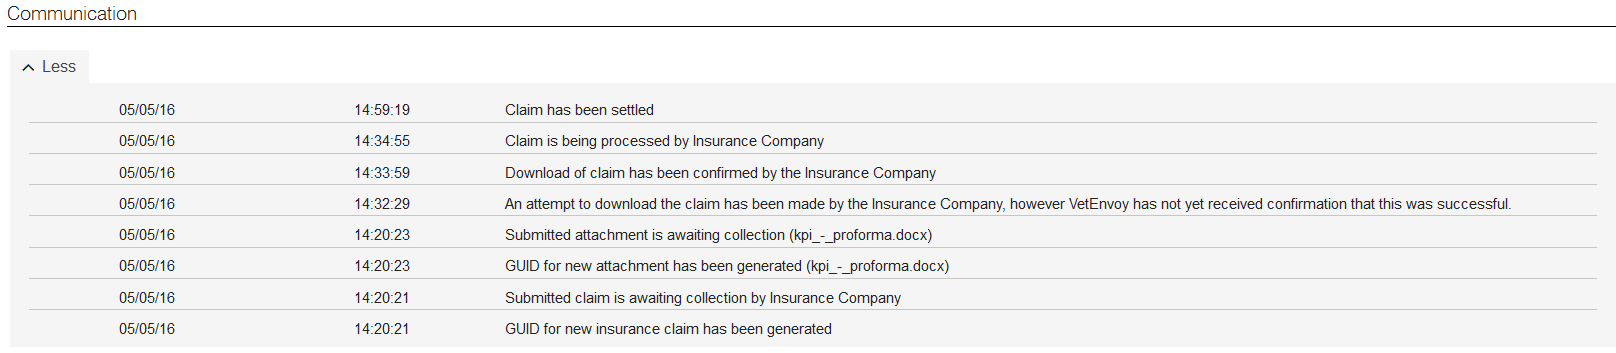
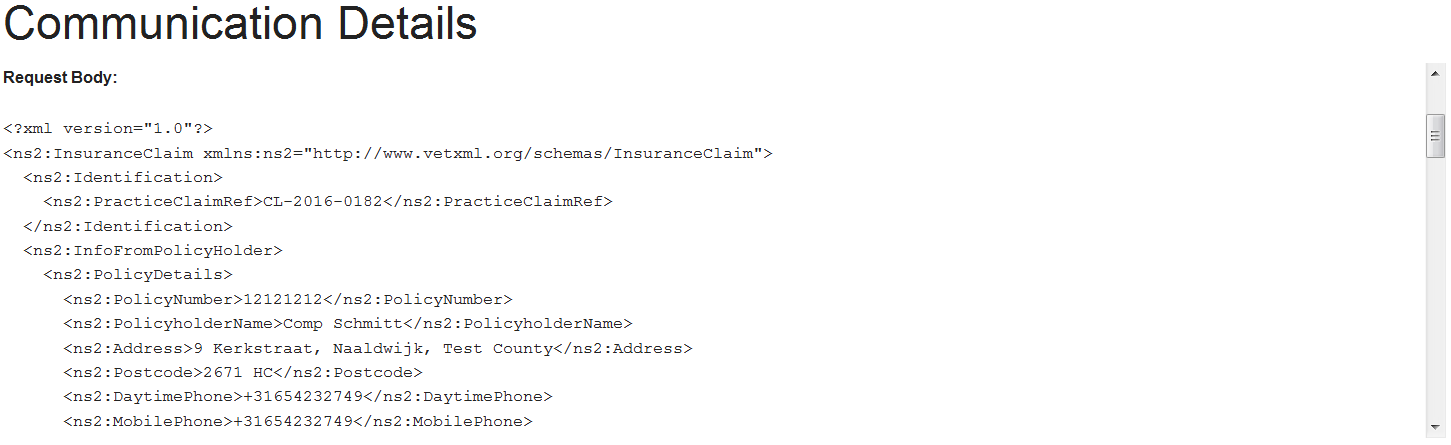
If you would like to see all the details that have been sent to the insurance company, you can click on the line that states “Submitted claim is awaiting collection by Insurance Company” and you will see an XML with all the sent information.
Sending the claim
- An eClaim can only be sent when all mandatory fields are filled, products have been added and the value of the claim is positive. Only when those requirements are met will the Send button be enabled:

-
If the Send button is disabled, we advise to run through all the mandatory eClaim fields and make sure they contain all the required information.
-
By clicking Send, the eClaim will be sent to VetEnvoy/Petios, who will pass it on to the insurance company.
Many fields that are being sent don’t show in the claim form; to view what fields have been sent, please open the log file in the communication section of the claim form (the line that states “Submitted claim is awaiting collection by Insurance Company“).
Troubleshooting
The claim can fail to send for several reasons:
- the attachment is too large. If an attempt is made to send a file that is larger than 9.5MB, VetEnvoy/Petios will instantly close the connection and the request will be terminated.
- the attachment has the wrong format. If an attempt is made to send a file that does not meet the format requirements, VetEnvoy/Petios will instantly close the connection and the request will be terminated.
- the attachment has been removed from the patient file after adding it to the claim. It no longer exists and therefore cannot be sent.
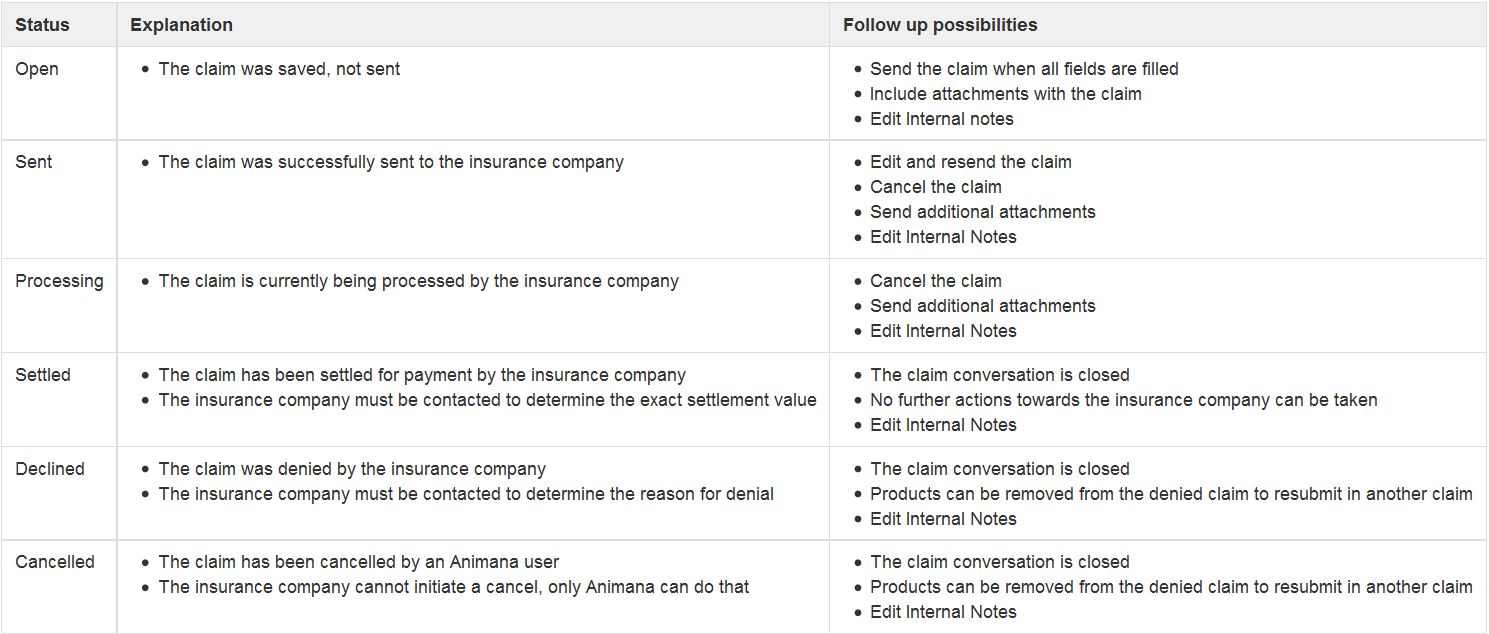
Claim status
An eClaim can have different statuses, which change upon interactions with VetEnvoy/Petios and the insurance company:
Re-issue a declined claim
If a claim is declined by an insurance company, it’s possible to reissue the claim again. To be able to assign invoice items to a new claim they first have to be removed from the declined claim, before they are added to a new claim.
- Open the declined claim in the patient file
- Delete products from the claim
- Open a new claim
- Select the applicable products to be re-issued
- Send or print the new claim
Editing a claim
- An eClaim can only be edited when it has been saved only or when it has been sent but has not been downloaded by the insurance company yet. When a sent eClaim is eligible for editing you will see a Resend button at the bottom of the claim form, instead of a Send button.

You can edit fields, add and remove products and cancel the claim.
- Once the insurance company has downloaded the claim, editing is no longer possible. The only field that remains editable through all stages is the Internal Notes. Once you edit this field, there will be a Save button and a Cancel button at the bottom of the claim form. Cancel will undo changes you made to the internal notes.
Printing/emailing a claim form
The form of an eClaim can be printed by using the print button at the bottom of the form or by using the print icon at the end of the row in the patient file. Any attachments that you selected in the claim form (patient history, other attachments) will be printed with your form. Emailing the form can be done from the patient file by using the email icon at the end of the line in the patient file.