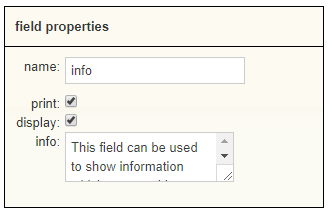
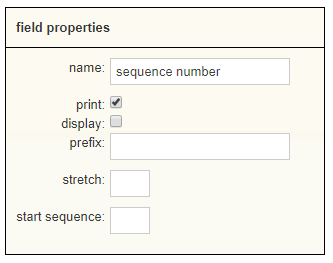
With custom protocols, you can simplify repetitive tasks by using a customised template. This comes in handy if you want to have a uniform treatment plan within your practice. Moreover, it will save you a lot of time. In this article we will explain how you can create a basic custom protocol.
Before you start
- Please note that the custom protocol feature called “octopus” needs to be enabled by our Customer Support team.
- You need permission to be able to create custom protocols. Permissions can be adjusted by practice administrators in
 > General Settings > Role Management.
Step-by-step instructions
To explain the basic functionality of a custom protocol we will create an example protocol for a consultation.
- In your account, go to
 > General Settings > Custom Protocols.
 - At the top, click the button New Protocol.
- In the “protocol properties” on the right, change the protocol name.
- On the left, you will see a column with available fields.This is box titleAs an example, we will add a grouped section containing basic information such as the date, time and the Animana user. Fields can be added by dragging and dropping the field from the left into the middle section of the page.
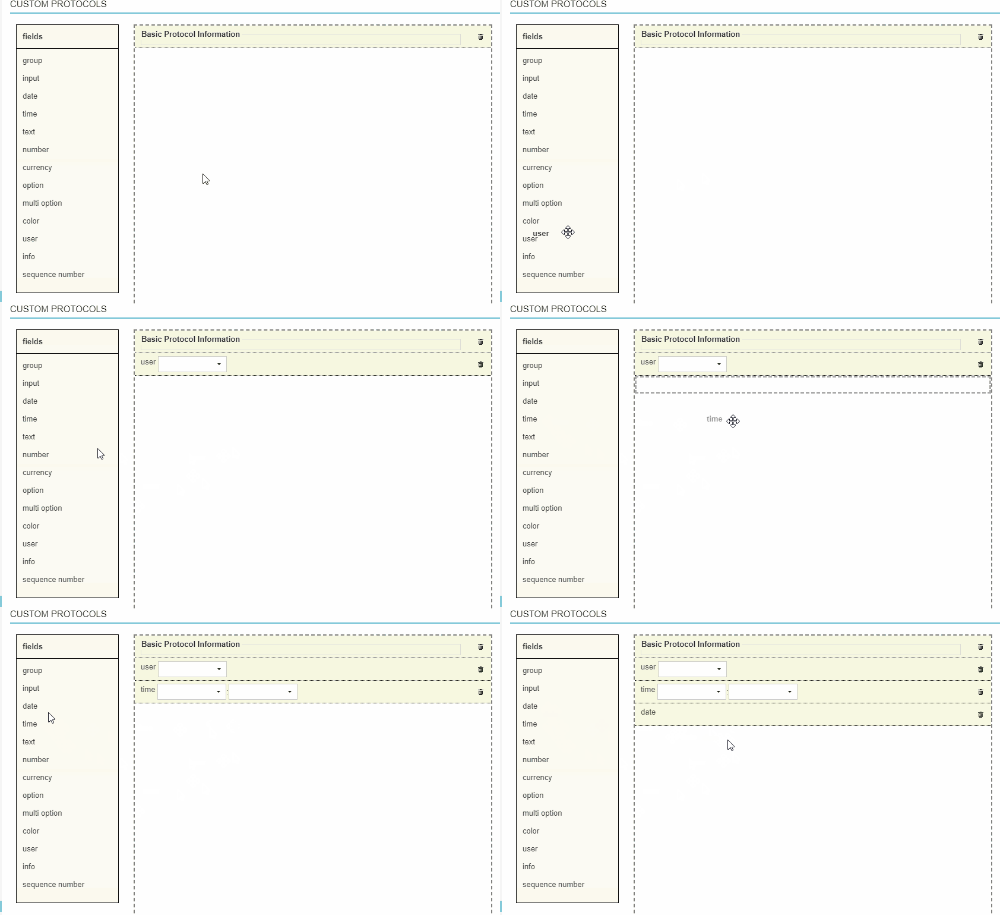
- Drag and drop the “group” field into the middle section like shown below. Note that here a “group” is a title and layout element.

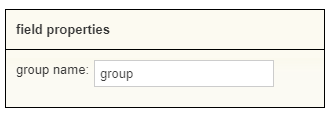
- Click on the group in the middle section. The “field properties” section will now appear on the bottom right side. Change the name of this group.
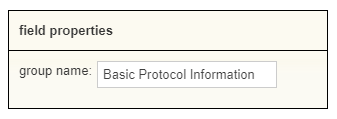
The name change of the group will be shown right away:

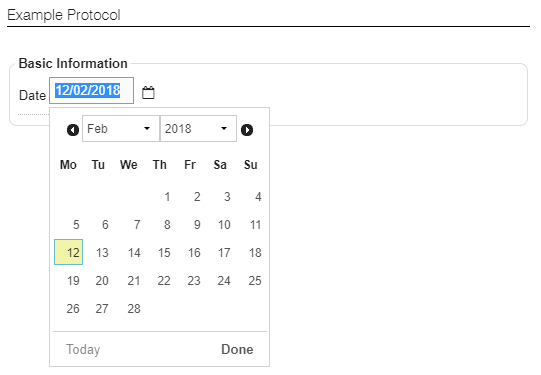
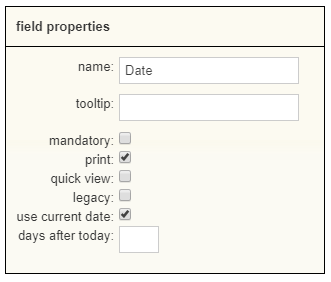
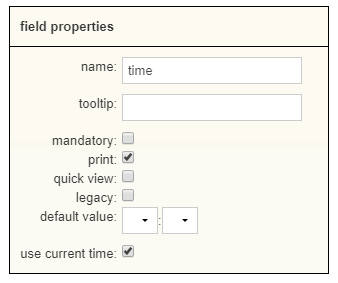
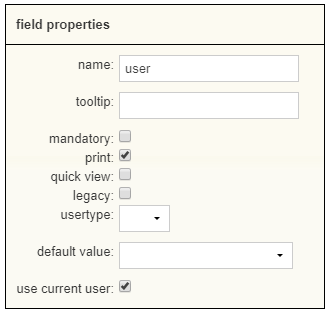
- Now that the group field has been set up, every other field that will be added will be included in this group. As an example, we will add fields for “date”, “time” and “user”, as follows:
- In order to add a section for the Anamnesis, first add another group to the middle section and then change its name to “Anamnesis” on the right. If you forgot how to do this, go back to step 6 for a reminder.
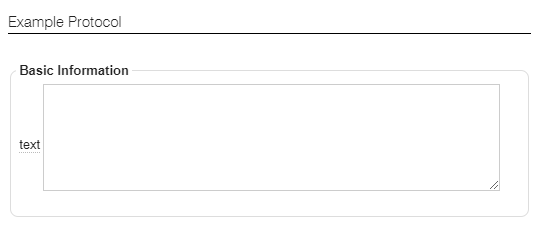
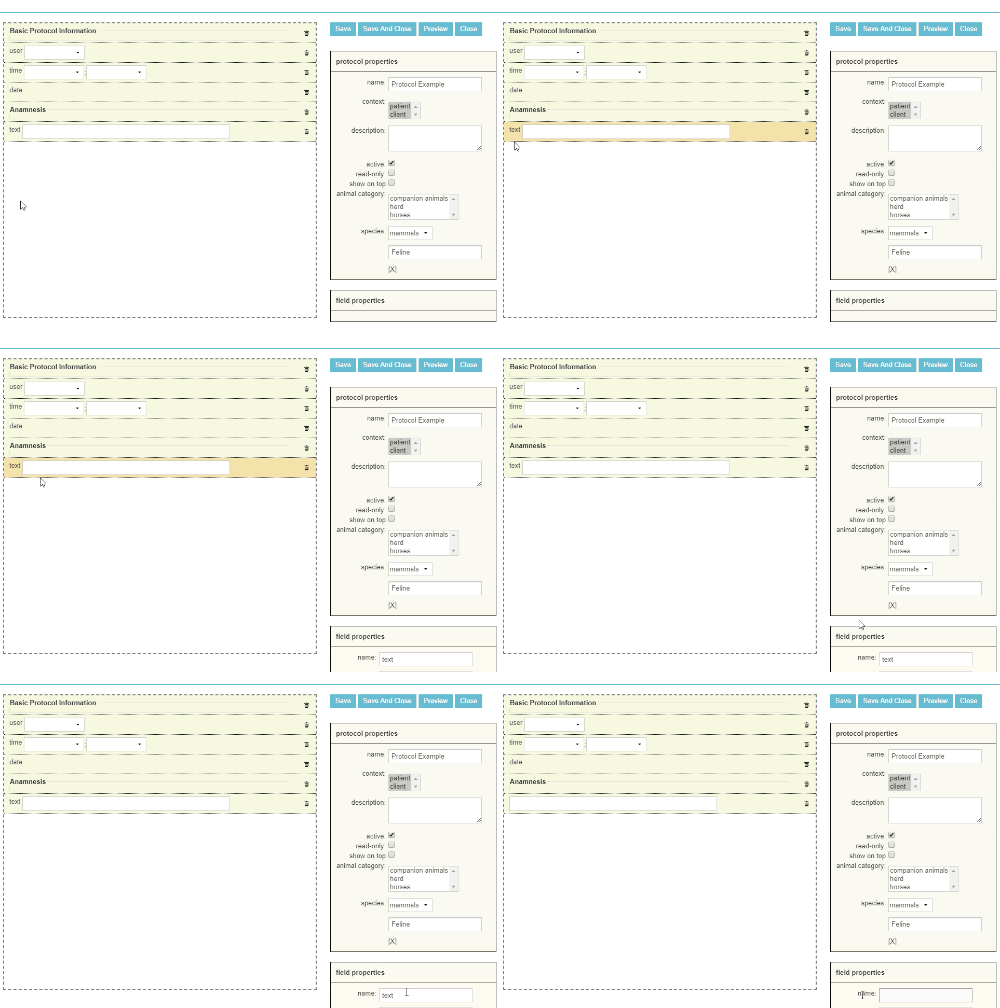
- Then add a “text” field. The text field will be used as a field where the user can enter the anamnesis.
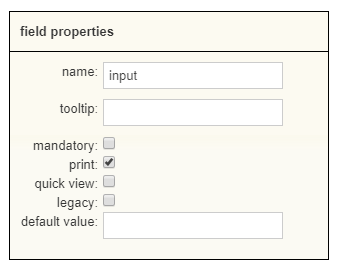
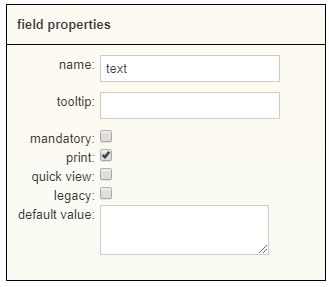
- Click on the field “text” and remove the name from the field properties.
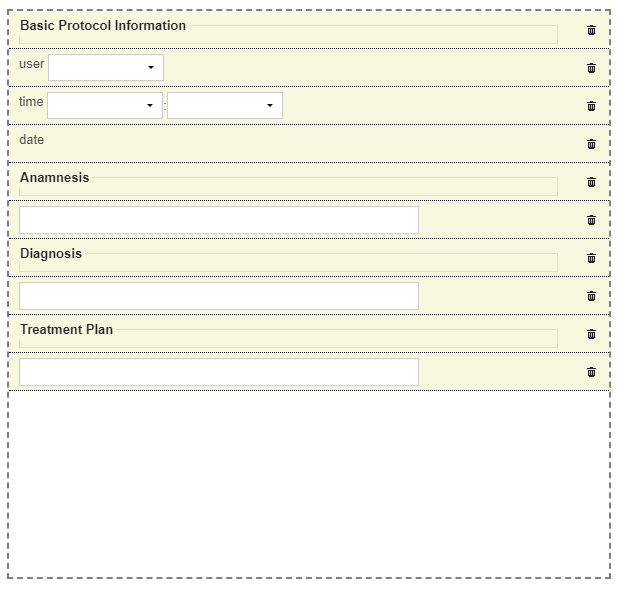
If you want you can add groups and text fields in the same way for Diagnosis and Treatment Plan, which will make the protocol look similar to this:
- At the top right click Save:

After saving, the protocol will be added to the drop-down menu in the patient, herd or client file.
More about this
How do I make a protocol (in)active?
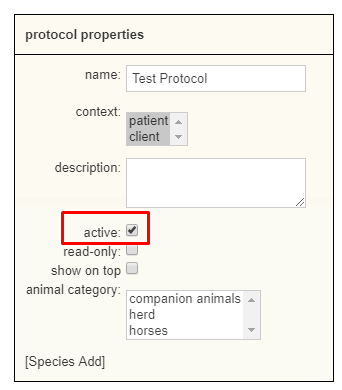
Every protocol has properties that can be set. One of them is to determine whether a protocol should be active or not. By ticking the active box that protocol will become active and when the box is unticked it will become inactive:
What does read-only mean?
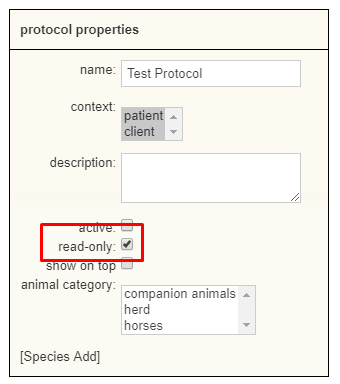
When the read-only box in the protocol properties is ticked, the protocol will no longer appear in the dropdown menu in the client/patient file, so new protocols cannot be created using this template.
How can I preview a protocol?
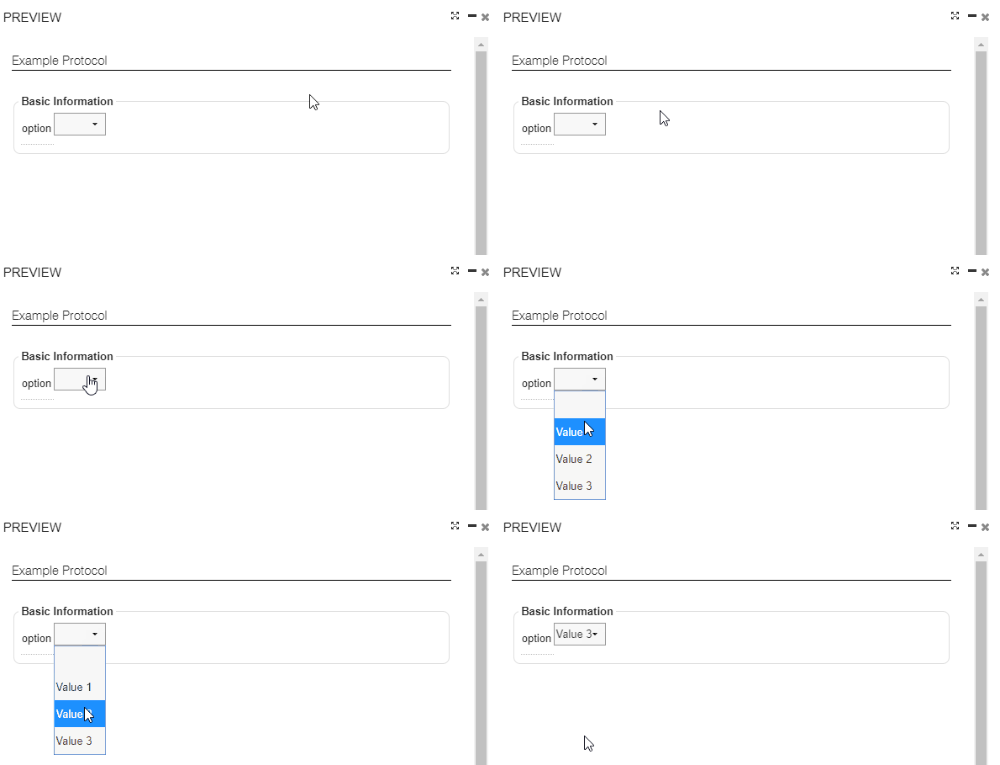
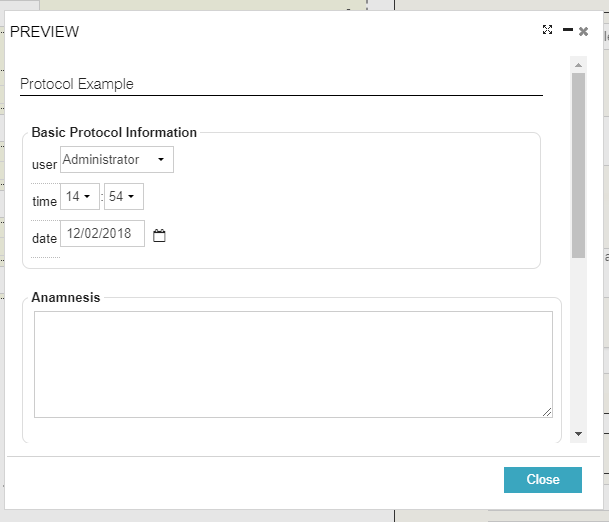
While creating a new custom protocol, Animana provides the opportunity to preview the new protocol. Make sure to save the protocol first before you preview it. Previewing can be done by simply clicking on the Preview button at the top right:

Once clicked a pop-up with the protocol will appear:
How do I make sure a protocol sticks at the top of a client or patient file?
- Open a custom protocol by browsing to
 > General Setttings > Custom Protocols and selecting a protocol.
 - On the right side under “Protocol properties” tick the Show on top box:

- Click Save and you are all set.
Customising fields
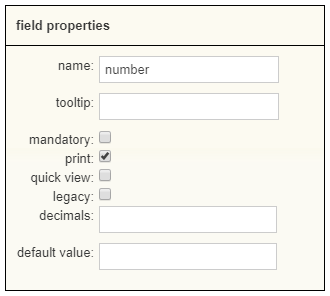
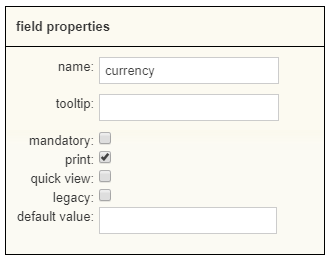
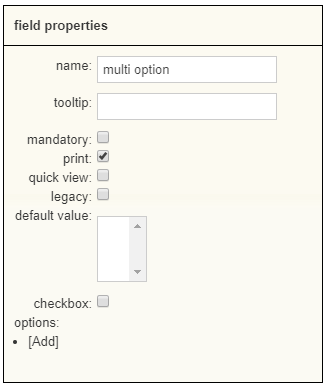
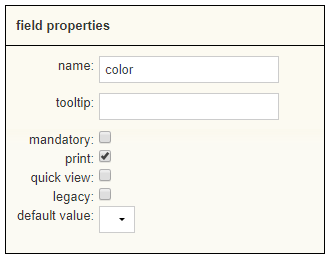
Every field of a custom protocol has its own properties. Please note that there are some common elements between these fields, one of these is the “tooltip” option:
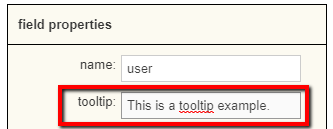
The tooltip will be displayed on the field once a mouse pointer is hovering over it. It can provide useful information for the user that is using the protocol:

Click on one of the options below to read more information on how they work.
What is the logic of the order in which my protocol appears in the drop-down menu?
Basically, the order of protocols in the drop-down menu is alphabetical, i.e. from top to bottom from a to z. It is possible to adjust the order of the protocols in the drop-down menu or move frequently used custom protocols to the action buttons at the top of the file. More information can be found in the related articles below.

