When you want to build on your customer service or you’re experiencing a lot of appointment no shows you can consider sending out appointment reminders. Especially if you are a busy practice and book appointments a long time in advance, pet owners might forget about the appointment when the time comes. Appointment reminders can either be sent automatically or manually. This article will show you how to send out reminders for appointments in the diary manually.
Before you start
Step-by-step instructions
- Click the Appointment icon in the navigation bar at the top to go to the diary.
- Select the date that you want to send appointment reminders for. In this scenario we click on tomorrow’s date.
- Then on that date, click on the 3 dots with 3 lines in top left corner of the calendar.
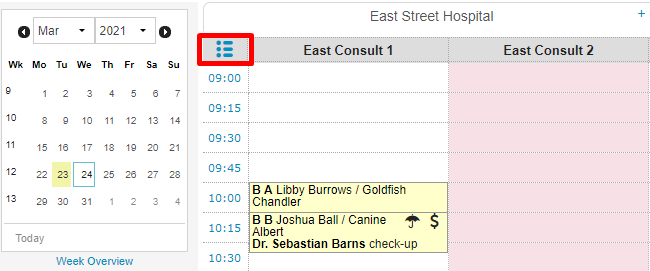
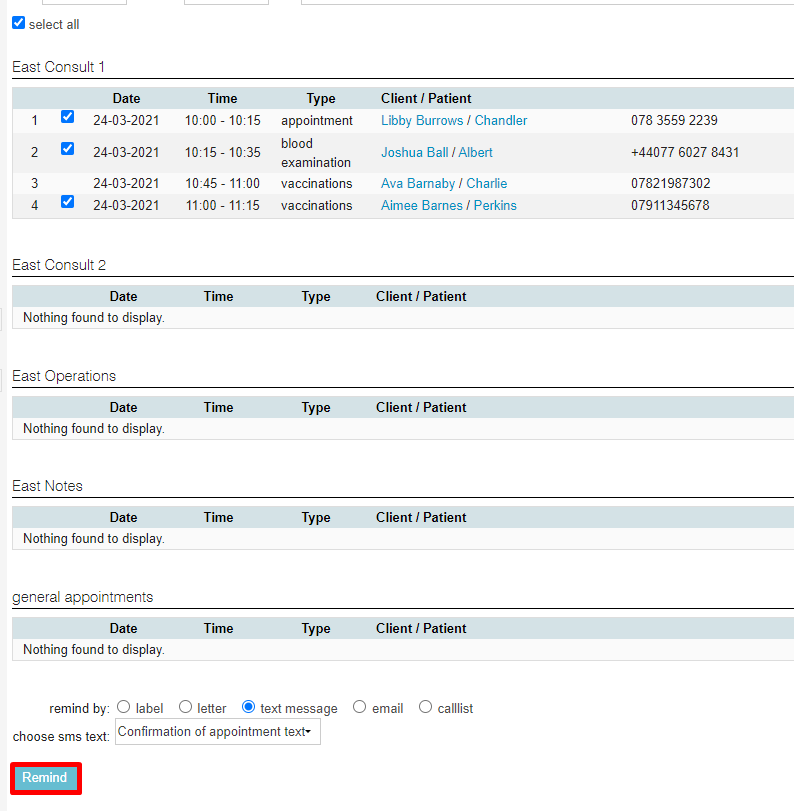
- This displays the appointments for the selected day in a list. If you have a long list of appointments or multiple locations, you can filter at the top using the drop-down menus.
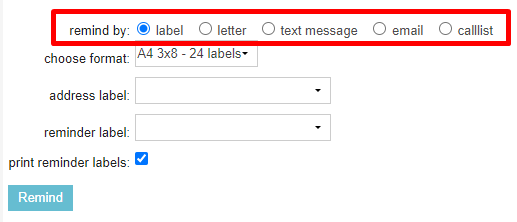
This is box titleNote: appointments cannot be added in this view. - Scroll down to the bottom and select how you want to remind. Once you select a remind option, the fields below will change.
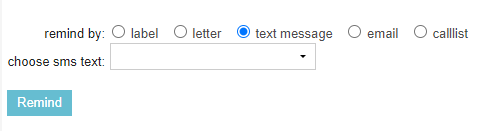
 In this example we want to remind via a text message so we will select “text message”.
 - Upon selecting an option you will automatically return to the top of the screen. As you can see in the screenshot below, now that ‘text message’ is selected, one of the checkboxes has disappeared. This is because this client apparently does not have a mobile number registered. When you’ve selected “email” in step 5 the same goes for clients without a registered email address.
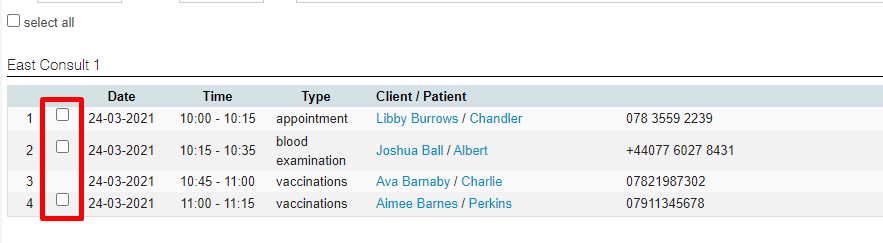
- Either select the individual appointments you want to remind by checking their box or simply click “select all” at the top.
- In this scenario we want to send text messages. Scroll down and choose a text message template from the dropdown.
 When you don’t see any templates in the list, you will need to set those up first. See our Related articles.
This is box titleShould you change the “remind by” at this stage, you will need to re-select the appointments you want to remind. - Then click Remind.
The clients of the selected appointments will receive a text message reminder. You will find this text message text added to the respective patient files as well.
More about this
What other appointment reminder options are there?
When you want to send an appointment reminder via a different platform, you can select your desired option in step 5. Each reminder option requires different fields to complete. Please find a description below.
Label
Selecting “label” will show the label options panel:
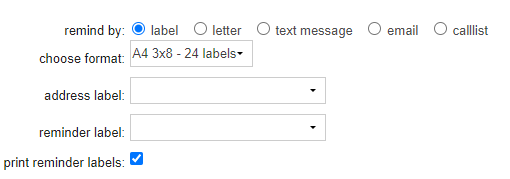
- “Choose format”: here you may select the label format which is appropriate for your printer. Label formats are configured in Settings > General Settings > General Settings > tab Paper format.
- “Address label”: if you have configured label formats in Settings > General Settings > Content Designer > tab Label, then you may select a custom label here. Otherwise, leave the field blank to use the standard template.
- “Reminder label”: in addition to the address label you can also print a second label; for example a label which contains the details and text of the reminder. If you wish to do this, select the template for the second label, or leave this field blank to use the standard template. Note: you will also need to select the box “Print Reminder Labels”.
- “Print reminder labels”: if you wish to print a second label (see above), tick this box.
Clicking Remind will send your selected reminder labels to the printer.
Letter
Selecting “letter” will show the letter options panel:
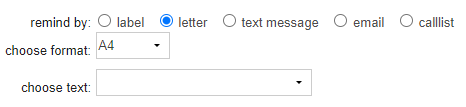
- “Choose format”: choose the paper format that the letter will be printed onto.
- “Choose text”: select the template you would like to use for the letter content. Templates are setup in Settings > General Settings > Content Designer > tab Letter and email.
Clicking Remind will send your selected reminder letters to the printer.
Selecting “email” will show the email options panel:

- “Choose email text”: choose the email template you wish to use from the dropdown. Templates are setup in Settings > General Settings > Content Designer > tab Letter and email.
Clicking Remind will send your selected reminder emails to the recipients. Wait until you see a notification at the top of the page that the emails have been sent before moving away from this page.

Note that a copy of the reminder email will not be added to the respective patient file.
Calllist
Selecting “callist” will not give extra fields:

Clicking Remind will allow you to quickly generate a list of clients for exporting.