Communicating with your clients is an important activity that you do all day, every day. One of the great functionalities within Animana is that you can send emails to clients directly from Animana. This article will explain how you can do that.
Before you start
- You need permission to be able to edit the general settings of your account. Permissions can be adjusted by practice administrators in Settings > General Settings > Role Management.
- Set up your practice sender email address correctly in Settings > General Settings > General Settings > Mailing. Enter your email in the following format:
Clinic <info@yourclinic.co.uk>
The receiver will then see ‘Clinic’ as a sender.
- Enter the email address in Settings > General Settings > Locations > field “email” in that same format:
Location Name <info@yourclinic.co.uk>
- Also, enter the (work) email address per user in Settings > General Settings > User Management > field “mailing email”. Use the normal email format:
name@example.com
- Add a header and footer in Settings > General Settings > Letter Header Administration. See the Related articles section for more information.
Step-by-step instructions
- Go to the Client File.
- Click the button Email at the top.
- Select a template via the drop-down menu.
This is box titleYou can also type text in the text field directly. We do advise to use templates as they will save you a lot of time and will allow your staff to communicate with clients via email in a consistent way. See the Related articles section below for information on creating templates.
- Check the email address entered in the “from” field. This field is prepopulated with the email address of the location that you are currently logged into.
This is box titleYou can manually change the sender email address either by typing a different email address in the (left) email field or you can select a different email address from the drop-down menu on the right. This will list the email address of the practice (as defined in Settings > General Settings > General Settings > Mailing), of the individual locations (as defined in Settings > General Settings > Locations) and of the users (as defined in their user settings in Settings > General Settings > User Management). - Check the email address entered in the “to” field. By default, Animana will have added the client’s email address. You can send an email to a maximum of 10 recipients.
This is box titleYou can manually change this email address as mentioned above. The drop-down menu on the right here will list the email address of the client as well as email addresses of referring vets. - Add a subject to your email. Note that emails without a subject may not get delivered.
- If you want to receive a copy of the email, tick the “send copy to sender” box.
If ticked, Animana will send a copy of the email to the email address entered in the “from” field. - Enter your message text in the text box. Whether you have chosen a template or not, you can type and edit your email message here.
This is box titleTip: use the formatting tools to edit the look of the email (applies only to HTML emails). - Select if you want to add the header and footer.
- Click Send.
You will return to the Client File which will have the email added to the file.
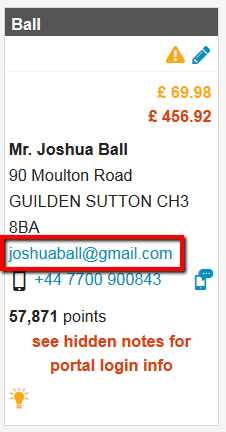
Shortcut: you can also access this interaction by clicking on the email address which is shown in the client information box on the left.
More about this
Can I see which files I sent with the email?
When viewing sent emails in the client, patient, or herd file, you can see the filename of sent attachments at the bottom of the email. This allows you to verify whether a file has – or hasn’t – been sent. This feature is automatically available for emails sent after release v6.5 of Animana; emails sent in previous versions will not show the filename(s).
Please note that the sent files cannot be opened.
I’ve saved my email but where is it now?
When you’ve drafted an email from the client file and clicked Save rather than Send, you will return to the client file. To open your drafted email, go to the client file again and click the button Email. This will open the last draft of your email for that client.
Related articles
- In focus: Successful emailing
- How do I add a letter or email (template)?
- How do I upload/update my letter header and footer?
- How do I email invoices to a client in Animana?
- How do I send marketing messages based on client data?
- How do I send marketing messages based on patient data?
- How do I send marketing messages based on product data?